Mastering DIY Headshots: A Real Estate Photographer’s Guide
Introduction
When you’re working in the real estate industry, your personal brand is your calling card. For real estate agents and photographers alike, a polished headshot speaks volumes to potential clients. The great news? You don’t need a professional photographer to achieve a high-quality headshot. DIY headshots can save you money, time, and give you full control over your image. With just a few tools and some preparation, you can create a headshot that exudes professionalism. Here’s how.
DIY Headshots: Why They Matter
DIY headshots matter because they give you an opportunity to present yourself exactly as you want to be seen, while also saving on hiring a professional photographer. Real estate is a personal business, and clients want to see who they’re dealing with before they make contact. Your headshot is often the first introduction, and in a visual industry like real estate, it has the power to build trust and establish credibility instantly.
When I started out as a real estate photographer, I didn’t think much about my own branding. But after realizing how important a good headshot was for marketing myself, I took the time to learn how to create one myself. The process of creating DIY headshots gave me control over my own image, which, as a photographer, was incredibly empowering.
DIY Headshots: Equipment Essentials
Before you can get started with DIY headshots, you’ll need the right equipment. Fortunately, it’s easier than ever to access quality photography tools without a hefty price tag.
1. Camera or Smartphone
If you own a DSLR camera, fantastic! If not, don’t worry. Modern smartphones have cameras that can capture headshots with exceptional clarity. Whether you use an iPhone or an Android, as long as you adjust the settings to the highest resolution, you’re good to go.
Pro tip: On smartphones, use the “Portrait Mode” to blur the background slightly, giving your image a more professional depth of field.
2. Tripod or Stable Surface
A steady hand is crucial for taking clear, crisp photos. Use a tripod to keep your camera stable and avoid blurry shots. If you don’t have a tripod, set your phone or camera on a sturdy surface, like a stack of books.
Pro tip: If your camera has a self-timer or remote shutter option, use it! This will allow you to get into position and avoid last-minute adjustments that could cause camera shake.
3. Lighting Setup
Lighting is one of the most important elements of photography. Natural light works wonders for DIY headshots. Position yourself near a large window or go outside during the “golden hour” – right after sunrise or before sunset – to capture flattering, soft light. Avoid harsh overhead lighting or direct sunlight, as these can cast unflattering shadows.
Pro tip: If you can, use a reflector (or even a piece of white poster board) to bounce light back onto your face and eliminate shadows.
4. Background
The background of your photo should be simple and non-distracting. The focus should be on you, not the scenery behind you. A blank wall or a well-lit room with neutral colors works perfectly for DIY headshots. Outdoor backgrounds can work too, as long as they’re simple and not overly busy.
Pro tip: Be mindful of your surroundings – no clutter, busy patterns, or strong contrasts that will pull attention away from your face.
DIY Headshots: Framing and Posing
Once you’ve set up your equipment, the next step in capturing great DIY headshots is framing your shot and perfecting your pose. This is where you’ll have the chance to play around with different angles, expressions, and positions to find the most flattering shot.
1. Framing
Frame your shot so that it captures your head and shoulders. Make sure your eyes are about one-third of the way down from the top of the frame. This creates a balanced composition and keeps the focus on your face.
Pro tip: Use the grid function on your phone or camera to make sure your shot is properly aligned and balanced.
2. Posing
One of the most important aspects of any headshot is posture. Stand or sit tall with your shoulders back, but don’t look stiff. A slight tilt to your head or an angle to your shoulders can add depth and personality to the photo. The key is to look confident but approachable.
Pro tip: Practice different expressions. A genuine smile often works best, but you might want to try a more neutral expression if it suits your brand better.
3. Wardrobe
What you wear in your DIY headshots should reflect your professional image. Solid colors work best, as they keep the focus on your face. Avoid busy patterns or overly bright colors that might clash with your background or distract the viewer.
Pro tip: Choose clothing that is comfortable but also polished. A crisp, ironed shirt or blouse can make a big difference in how professional your headshot looks.
DIY Headshots: Editing and Final Touches
Once you’ve captured your photos, it’s time to edit them. Editing is where the magic happens – it’s your chance to polish the image, enhance the lighting, and make sure everything looks as professional as possible.
1. Cropping and Adjustments
Start by cropping your photo to focus on your face and shoulders. Then, adjust the brightness, contrast, and exposure to make sure the image is well-lit and vibrant.
Pro tip: Be cautious with filters. It’s important to keep your headshot looking natural and true to life.
2. Retouching
Retouching should be subtle. Use editing apps like Adobe Lightroom, Photoshop, or even mobile apps like Snapseed to smooth out minor imperfections, like blemishes or stray hairs. Be careful not to overdo it, though – clients should still recognize you when they meet you in person.
Pro tip: Focus on brightening the eyes and adding a touch of sharpness to enhance details.
3. Consistency
If you’re using your DIY headshots across multiple platforms (social media, websites, business cards), make sure your edits are consistent. This will create a cohesive and professional image for your brand.

DIY Headshots: Advanced Tips for Extra Polish
If you’ve nailed the basics and want to go a step further, here are a few advanced tips to make your DIY headshots stand out.
1. Experiment with Angles
Sometimes a slight shift in angle can make all the difference in your shot. Try positioning the camera slightly above eye level for a more flattering look, or experiment with side angles to find the most flattering pose.
Pro tip: Take multiple shots from different angles and review them later to find your best side.
2. Multiple Takes
Take lots of photos! It can take time to relax in front of the camera, so give yourself plenty of options to choose from. You’ll be surprised how often the best shot comes when you least expect it.
Pro tip: Review your images on a larger screen (like a computer) to see details you might miss on your phone or camera.
3. Take Breaks
Shooting headshots can be exhausting, especially if you’re adjusting everything on your own. Take breaks to avoid looking tired or stiff. A fresh face and relaxed posture make for the best DIY headshots.
Suggestions for Virtual Staging Services
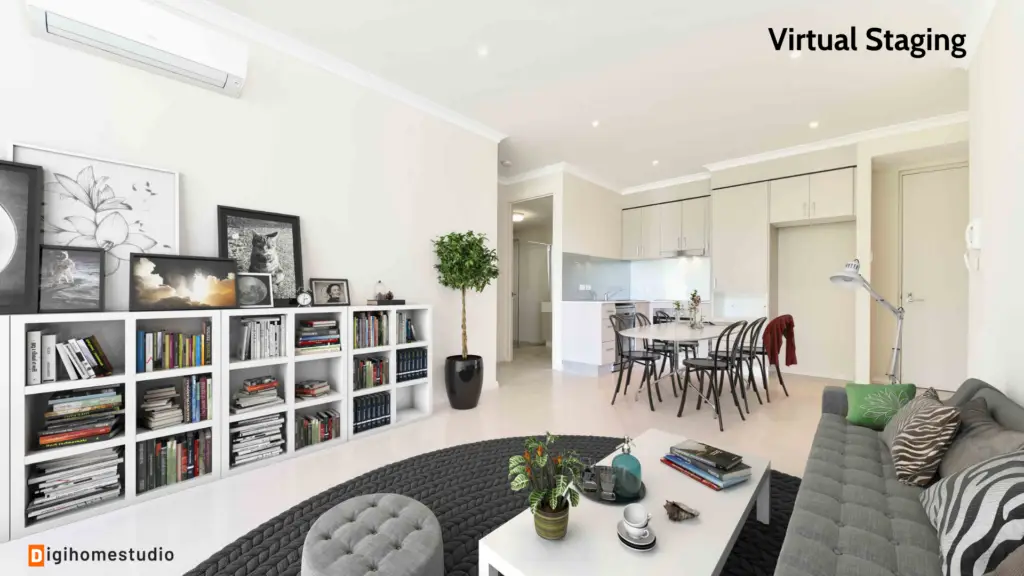
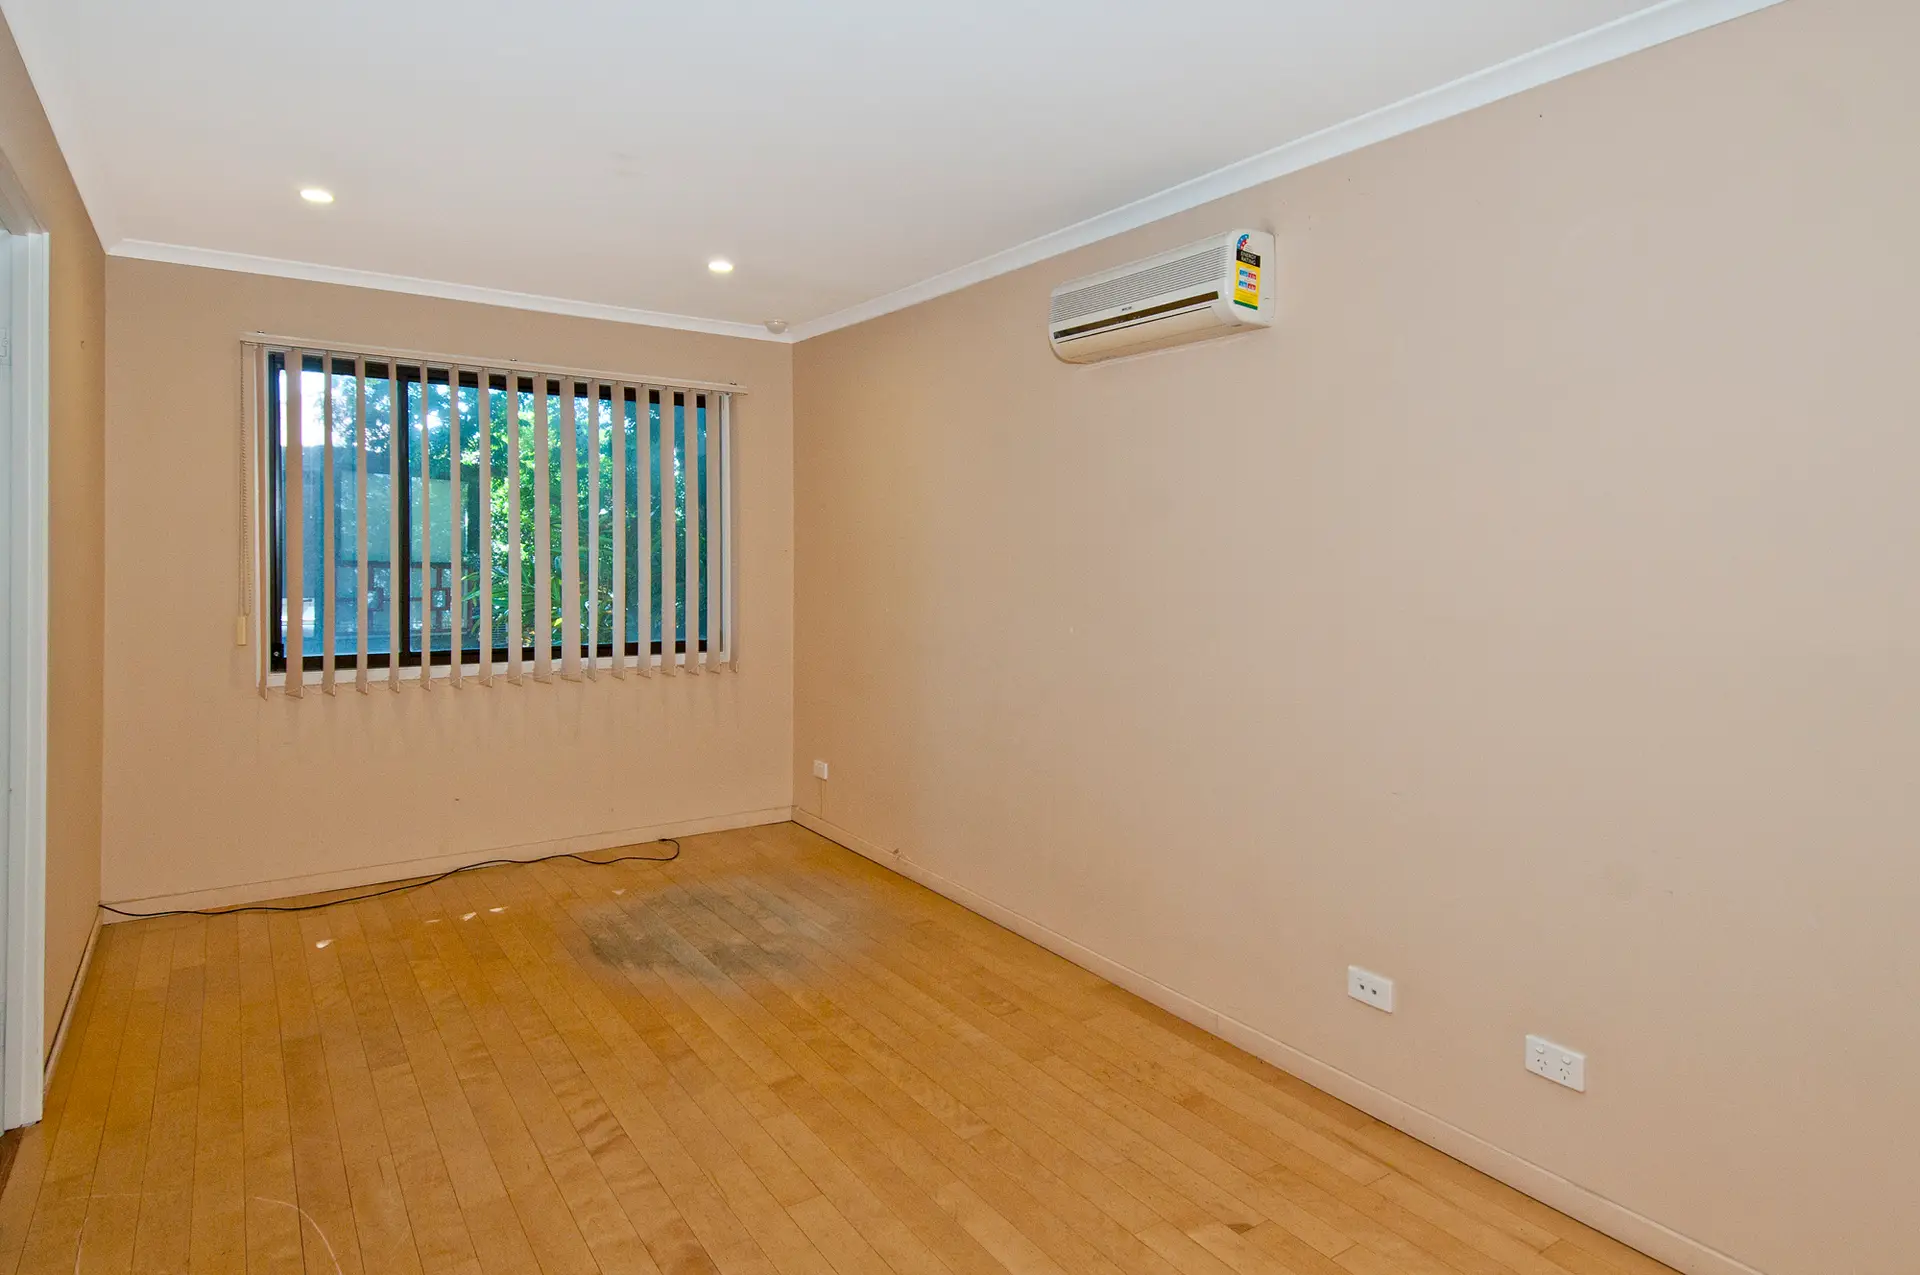
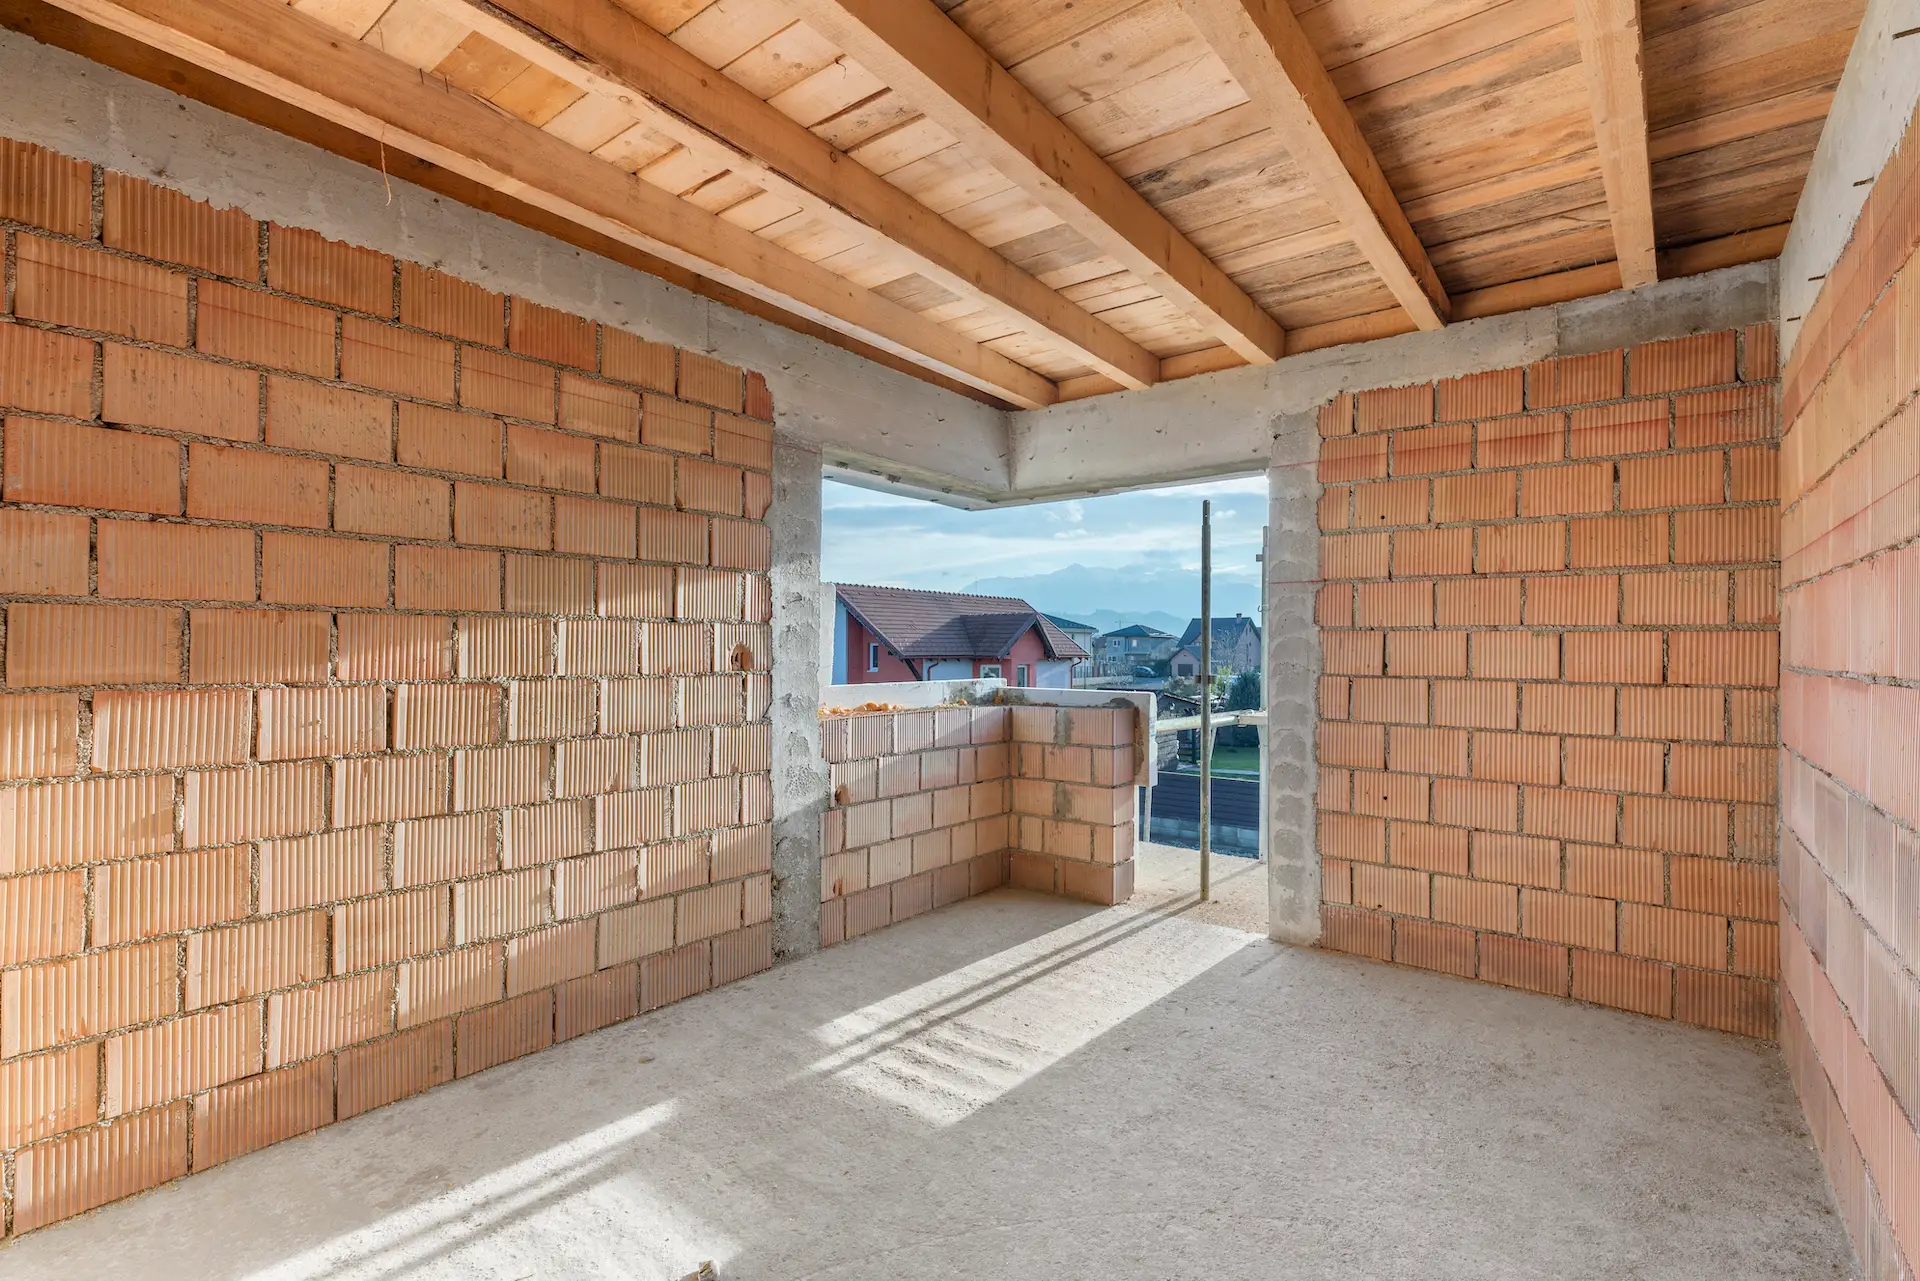
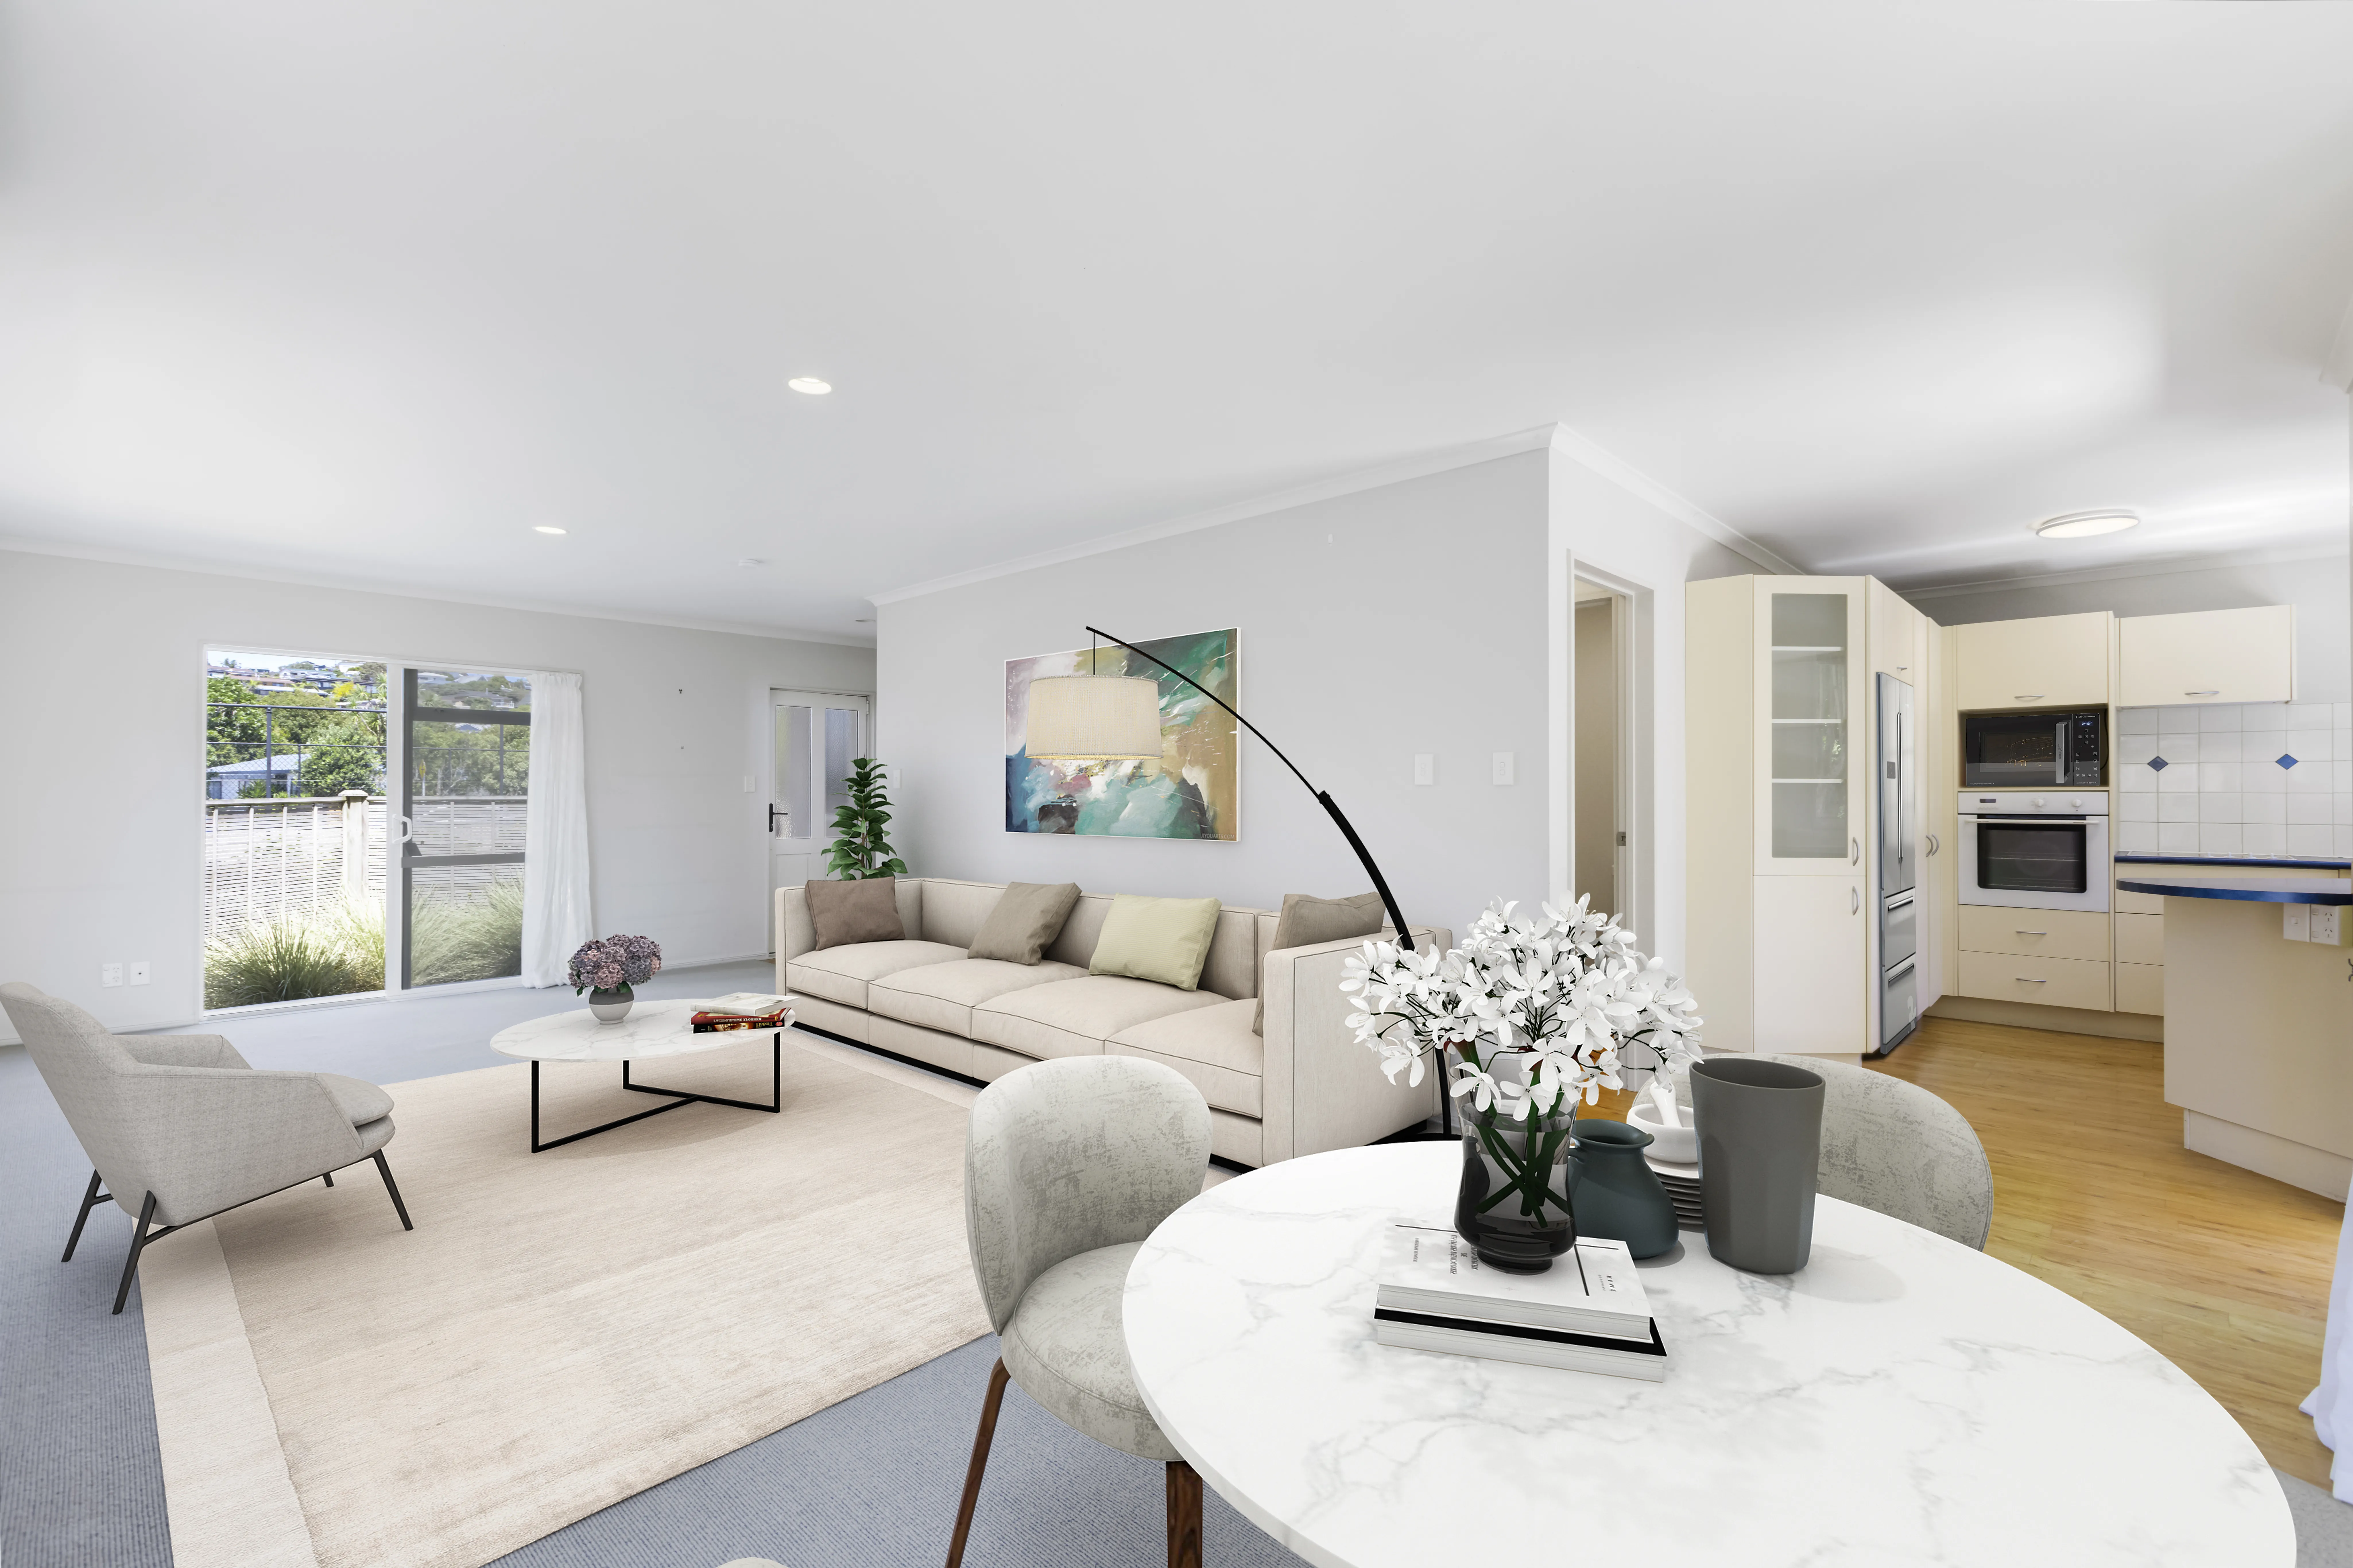
If you are looking for a professional virtual staging and render service at an affordable price, Digihomestudio.com is a worthy place for you to trust and accompany. You can expect to invest around $29 for a meticulously designed and lifelike final image, suitable for showcasing your home across various digital platforms.
We have a network of world-class virtual stage editors and designers in Vietnam. To ensure the best level of service, the customer service team is located in the US.
Our virtual home staging services include:
- Staging for empty or furnished rooms
- 2D and 3D floor plans
- Change the color of the walls and floors
- Virtual renovation
- Erase furniture and small objects
- And much more!
If you’re prepared to elevate your real estate marketing strategies, reach out to Digihomestudio.com now and experience the benefits of collaborating with one of the top virtual staging firms available today.
Final Thoughts
Creating DIY headshots may seem intimidating at first, but with the right preparation and a bit of practice, you’ll be able to capture a professional, polished image that reflects your personal brand. Whether you’re a real estate photographer or an agent, taking your own headshot gives you full creative control over how you present yourself to potential clients.
The most important takeaway? Don’t be afraid to experiment and have fun with the process. With each shot, you’ll get better and closer to that perfect photo that showcases exactly who you are. Ready to give DIY headshots a try? Grab your camera, set up your space, and start shooting today!
Read more:
- Virtual Staging Renovation: Transform Your Home Without Lifting a Finger
- 2D vs 3D Floor Plans: Which You Should Choose?
- Virtual Staging for Open Houses: 5 Tips for Creating a Memorable First Impression



Leave a Reply