Introduction
In today’s fast-paced property market, great visuals don’t just complement a listing—they drive it. According to Redfin, homes with high-quality images sell up to 32% faster and can bring in $3,000 to $11,000 more than listings with poor photos. While professional photographers often lead the charge, the good news is that you don’t need a photography degree or thousands in equipment to take compelling shots. With the right strategy, even beginners can master the basics of real estate photography and create images that help properties sell quickly and for top dollar.
Why Real Estate Photography Is a Deal Maker
Real estate photography is often the very first impression a buyer gets. With 97% of homebuyers starting their search online (NAR), photos are no longer optional—they’re essential. The strength of your photos will either invite clicks or drive potential buyers to the next listing.
Homes with bright, well-composed images command more attention, more views, and more foot traffic. This alone shows why mastering this skill is such a smart move for agents, investors, and even homeowners looking to DIY their sale.
Real estate photography done well communicates value, lifestyle, and care—things no bullet point list can match. A high-quality photo invites viewers to imagine themselves in the home, while a poorly composed image sends them looking elsewhere.
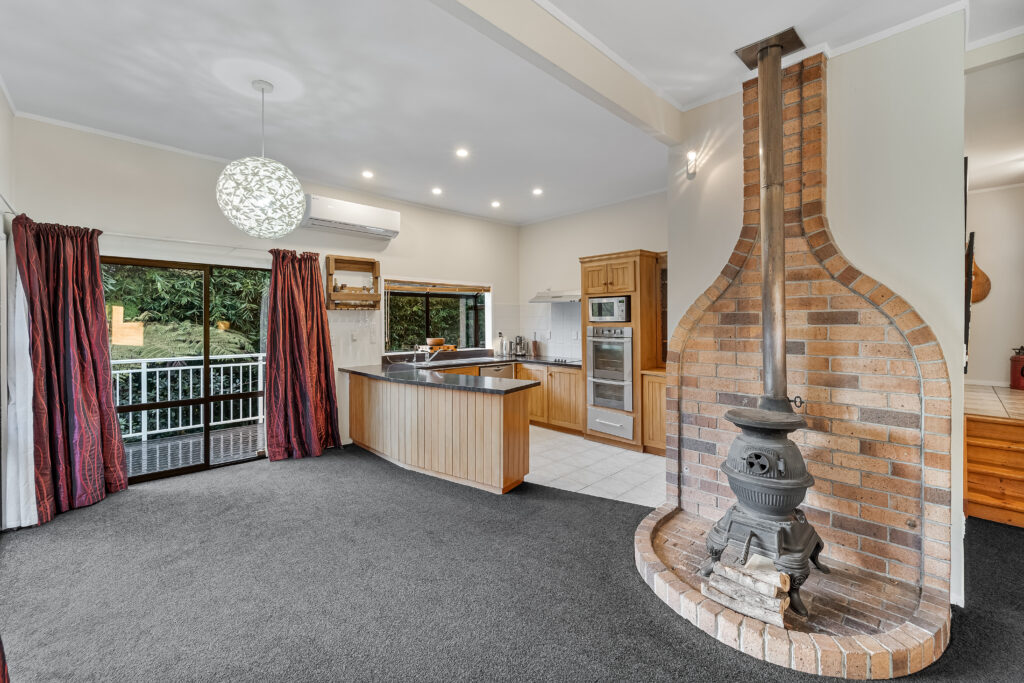
Prep the Space Before the Camera Comes Out
Real estate photography success starts well before you press the shutter. Begin by prepping the property like it’s about to be featured in a magazine. Decluttering is the first and most important step—remove excess furniture, cords, knickknacks, and anything too personalized.
Turn on all interior lights and open curtains to allow natural light in. Make sure beds are neatly made, countertops are clear, and towels are either clean and matching—or removed entirely. The goal is to make the home feel open, clean, and welcoming.
Real estate photography with well-staged rooms results in faster sales. Staged and well-prepared homes not only photograph better but also sell up to 25% faster, according to Zillow.

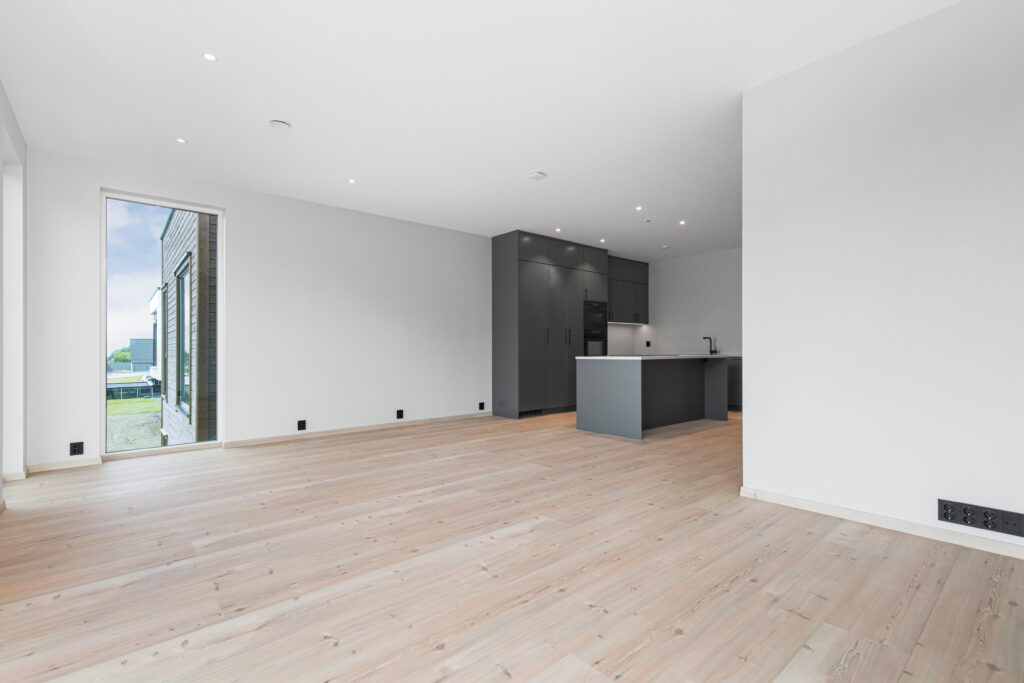
Before: Empty Room
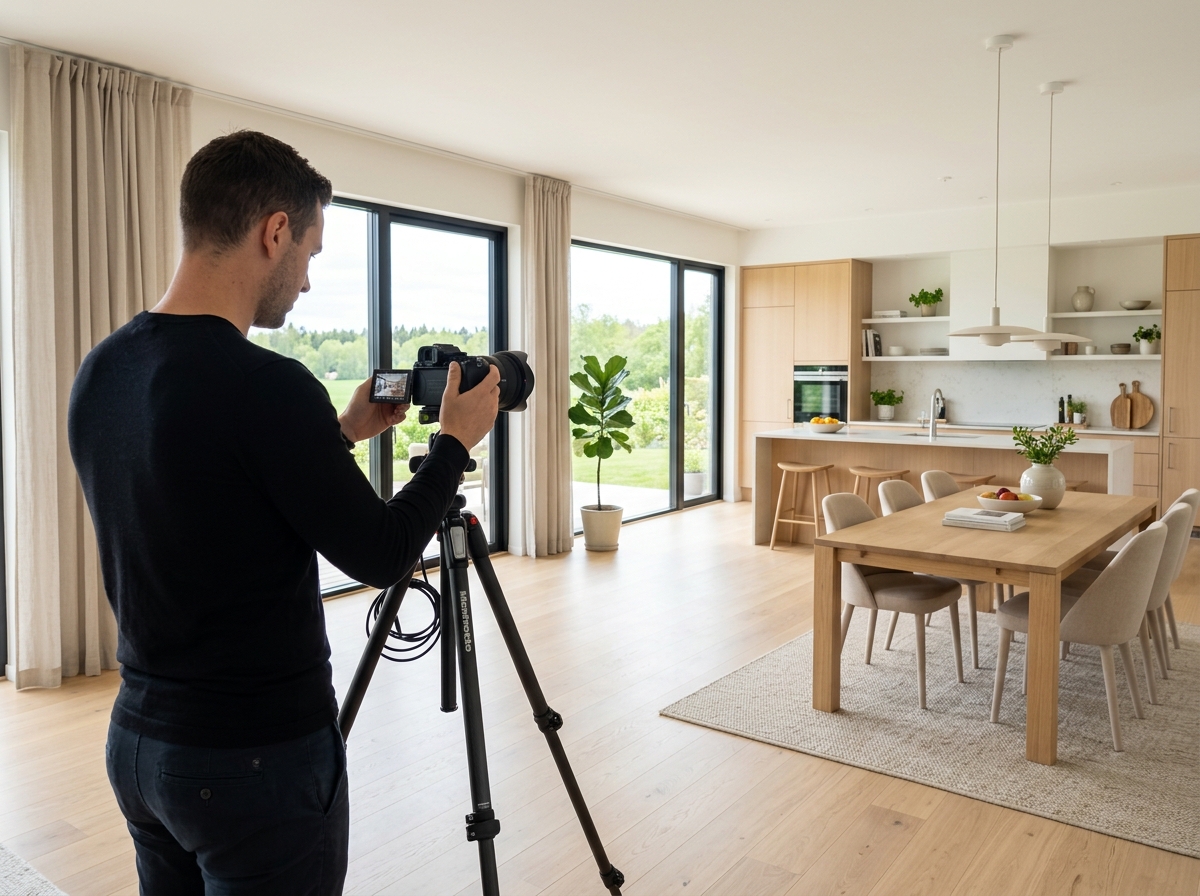
You Can Use a Smartphone—Here’s How
You don’t need a DSLR to take great real estate images. Today’s smartphones are more than capable, with models like the iPhone 15 Pro and Galaxy S24 offering 48MP+ resolution and HDR settings that balance light and shadow automatically.
Use the grid feature to align your shots and keep walls vertical. Always shoot in landscape mode to capture more of each room. A clean lens and steady hand—or better yet, a tripod—can drastically increase the quality of your images.
Natural light is your best friend. Shoot during the day when the rooms are evenly lit, and avoid overhead lights that cast yellow hues if they compete with sunlight.
Real estate photography should also be done with a clean lens (easily overlooked) and, if possible, a simple smartphone tripod. This helps reduce blurriness and ensures consistency across all shots.
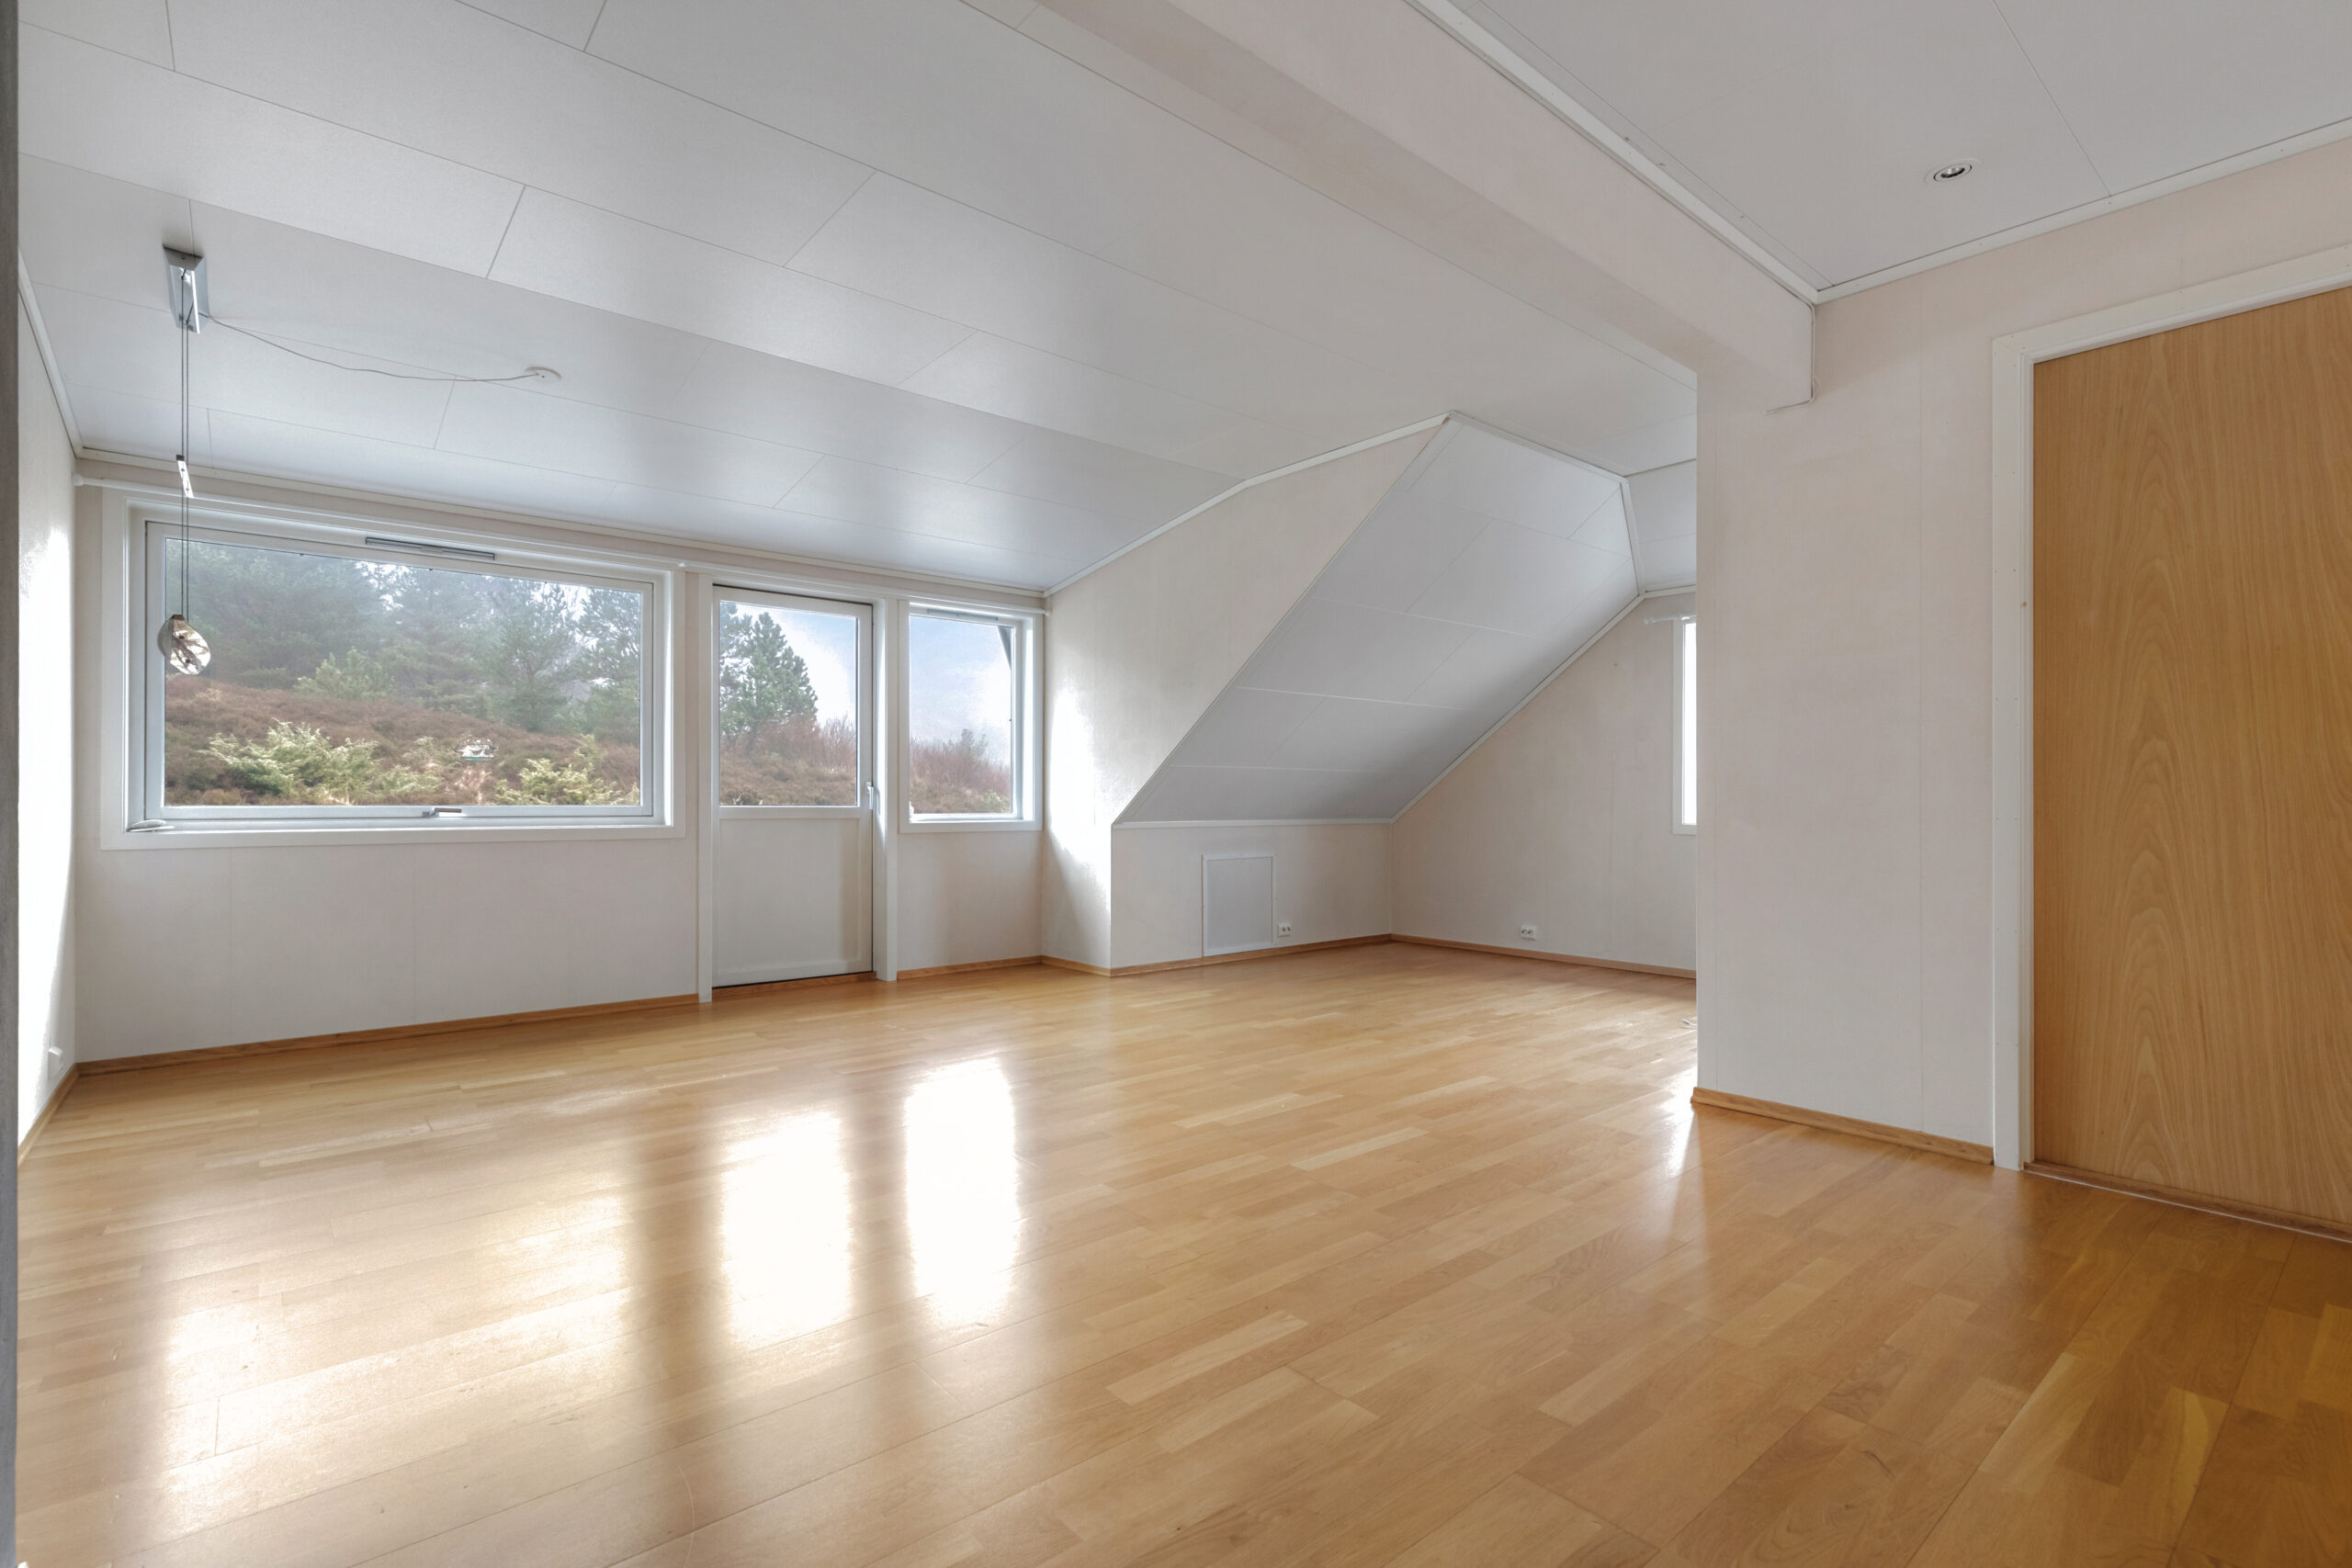
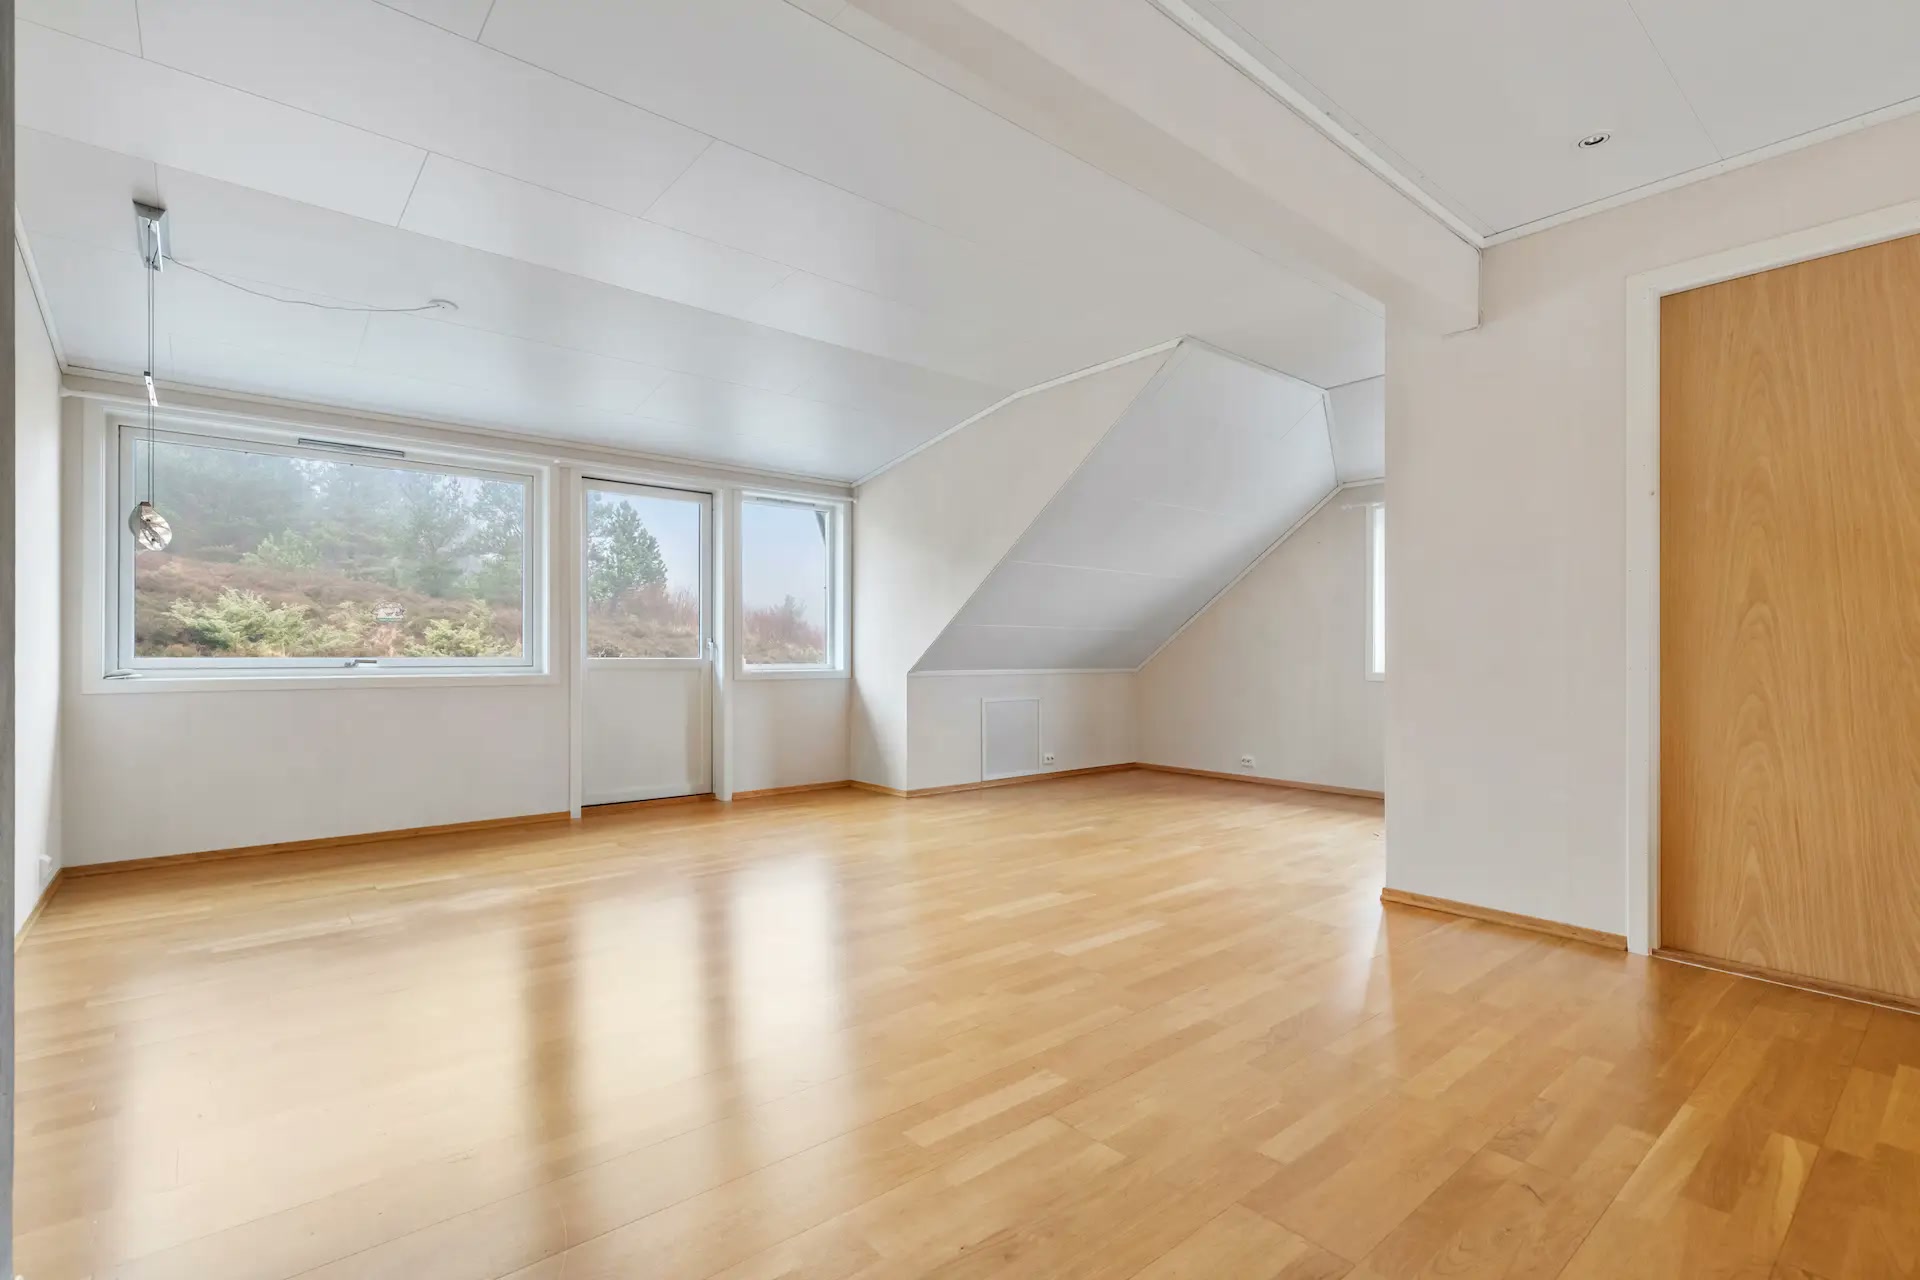
Before: Empty Room
Composition Makes or Breaks the Shot
Composition is where your photos move from functional to captivating. The goal of good real estate photography is to show space, light, and flow.
Shoot at chest height (roughly 5 feet or 1.5 meters) to represent how buyers will actually experience the room.
Use corners when framing shots. Shooting from a corner typically shows two walls and creates a sense of space.
Capture diagonals: Position your camera to show depth, drawing the eye into the room.
Embrace symmetry: Neatly aligned chairs, centered beds, and evenly spaced décor elements provide visual harmony.
A balanced photo creates trust—and trust sells.
Room-by-Room Guidelines to Keep It Simple
Different rooms require different approaches, but consistency is key. Here’s how to tackle each room like a pro:
Living Room
Make it feel comfortable and spacious. Fluff pillows, hide cords, and make sure the space flows. Turn off the TV and add a small plant or throw for a pop of life.
Kitchen
Less is more. Remove magnets and paperwork from the fridge, hide trash cans, and clear countertops completely except for one or two neutral items (like a fruit bowl or coffee maker).
Bathroom
This is a small room, but a big deal in listings. Close toilet lids, remove all toiletries and bath mats, and hang fresh towels or leave none at all. Cleanliness matters more than anything here.
Bedrooms
Real estate photography in bedrooms should feel restful and clean. Smooth out bedding, straighten rugs, and hide clothes, cords, and personal belongings. Aim for hotel-style neatness, which implies care and order.
Don’t Fall for These Common Mistakes
Even a solid shoot can be ruined by simple missteps. Here are the most common pitfalls and how to avoid them:
Using flash indoors: Creates harsh shadows and glare, especially on mirrors and glass.
Capturing your reflection in mirrors or windows: Always check your position before snapping.
Overexposed windows: Bright windows can make the rest of the room appear dark. HDR mode helps fix this.
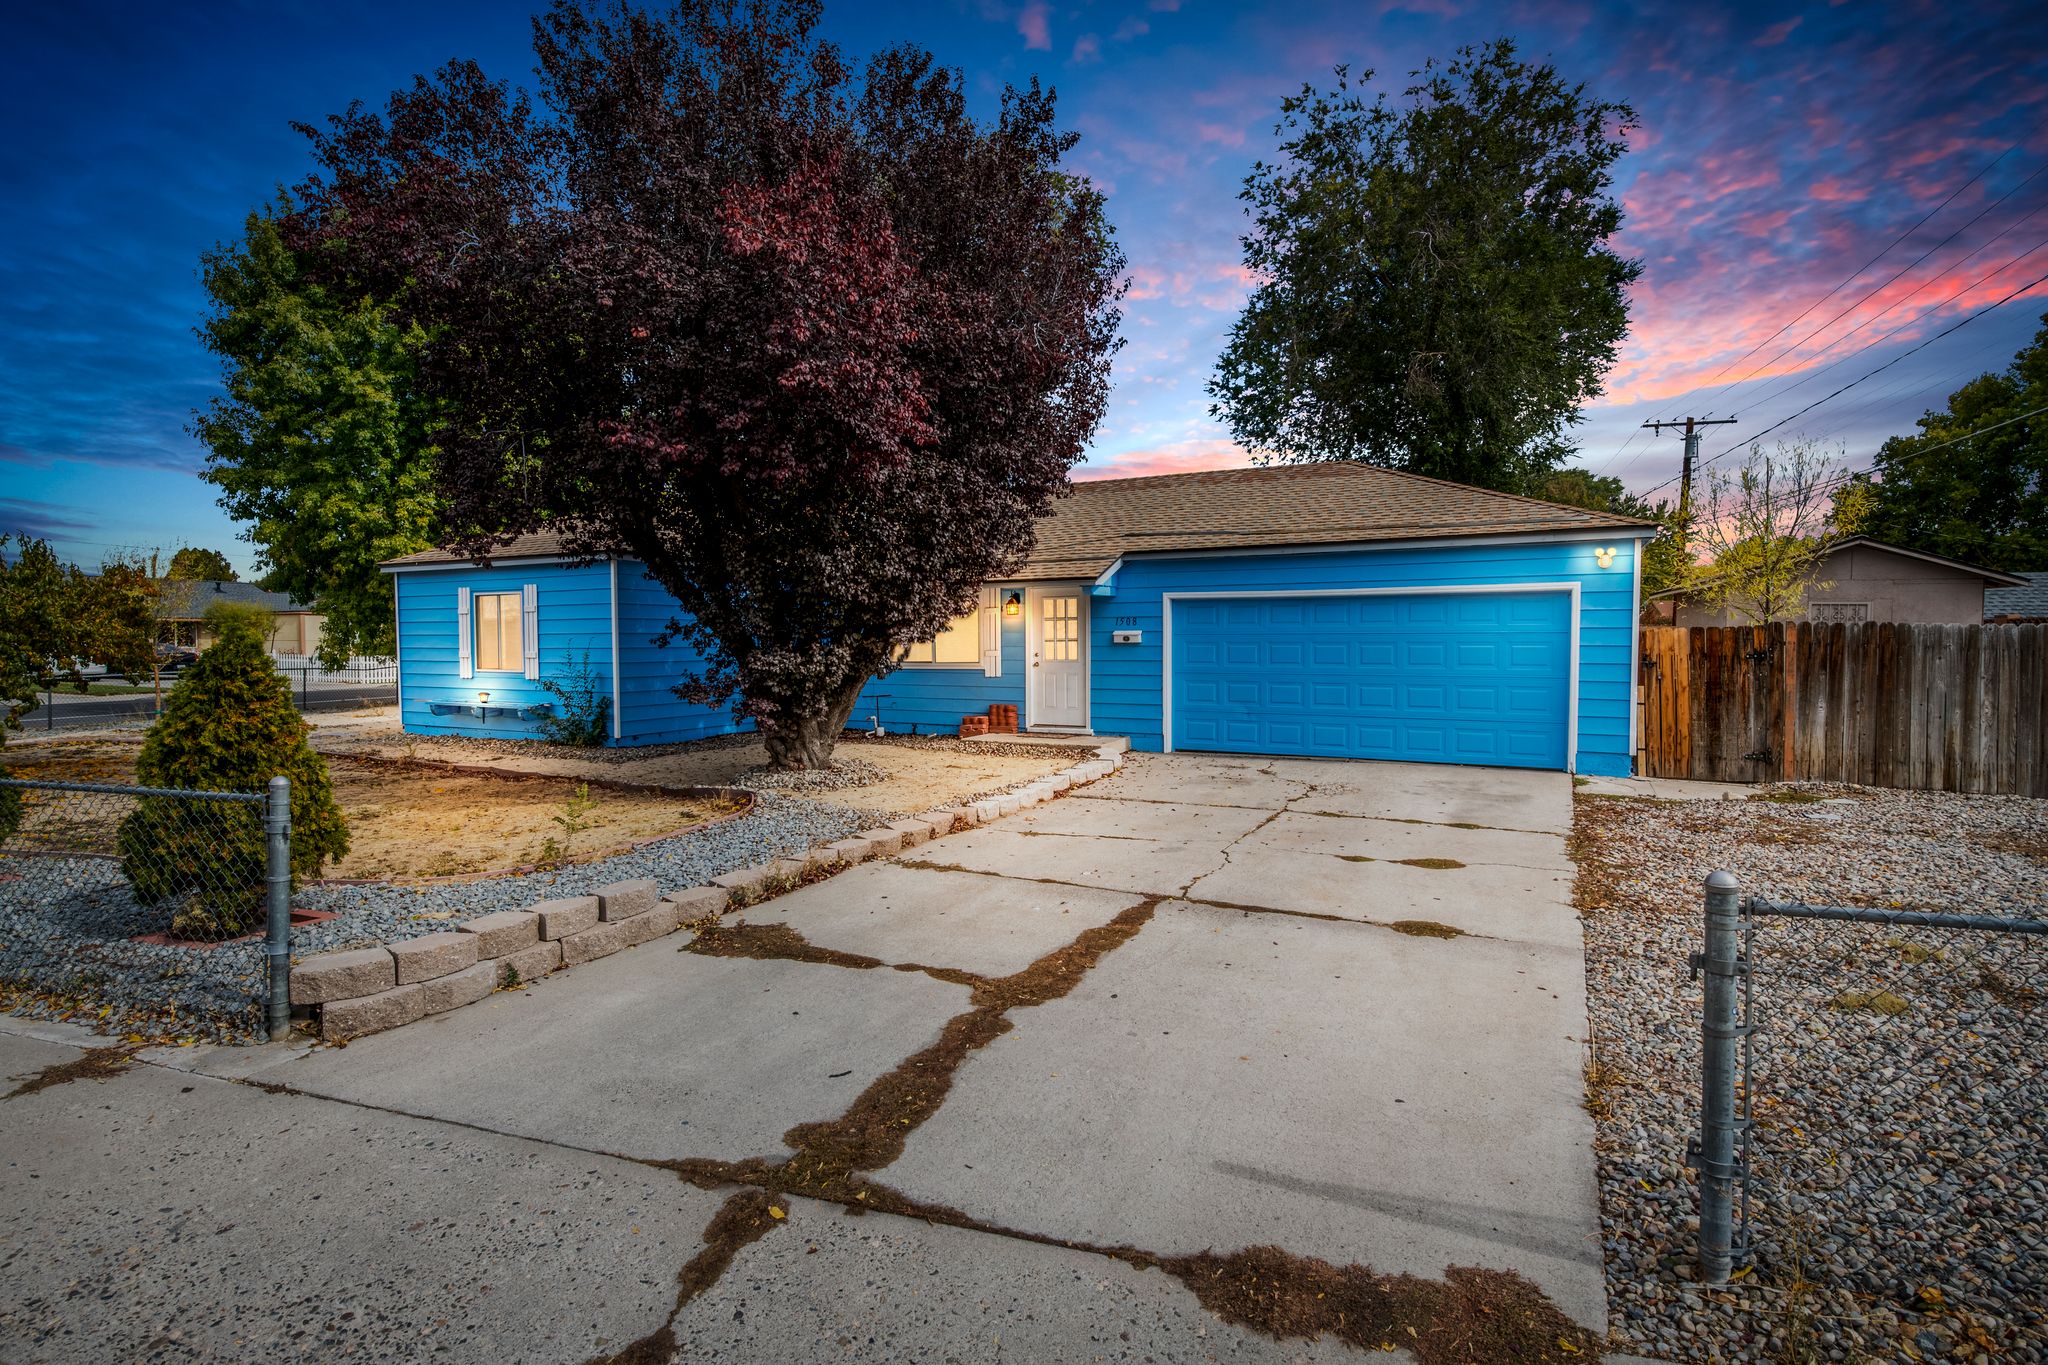
Skipping exterior shots: The front of the home (also called the “hero shot”) is your listing’s first impression.
Real estate photography isn’t complete without curb appeal. According to Realtor.com, listings with professional-quality exterior shots get up to 60% more clicks than those with poor curb appeal photography.
Edit for Polish, Not Perfection
Editing doesn’t mean faking—it means finishing. Even the best photos can benefit from straightening lines, adjusting brightness, and correcting color balance. Real estate photography can also be enhanced by removing small eyesores—trash bins, cords, or blemishes on walls. Apps like Lightroom, Snapseed, or even Canva Pro allow easy adjustments, while tools like Pixlr or Fotor offer browser-based options.
If an image feels “flat,” increase contrast slightly and bump up vibrance (not saturation). Fix tilted frames, crop out distractions, and sharpen details to make your images stand out.
Studies by VHT Studios show that edited listing photos sell 32% faster than unedited ones. So don’t skip this step, even if you’re just adjusting the basics.
Use This Photo-Day Checklist to Stay Organized
Before you hit the shutter button, go through this checklist to make sure everything is photo-ready. It could save you from missed angles or frustrating reshoots later.
Task
Description
All lights on
Turn on every available light, including lamps and overheads.
Curtains and blinds adjusted
Let in natural light, and ensure privacy if needed.
Fridge cleared
No magnets, lists, or clutter. Clean and tidy.
Tripod used
For clearer, more consistent shots.
All rooms captured
Don’t forget hallways, bathrooms, closets, or utility areas.
A good plan ensures a successful shoot—especially when you’re doing it yourself.
Consider a Professional Photo Editing Service
Real estate photography can reach an entirely new level with the help of professional editing services. While DIY editing tools are useful, they often fall short when it comes to complex tasks like object removal, sky replacement, or virtual staging.
If editing photos feels overwhelming or time-consuming, outsourcing might be your best bet. Professional editing services like Digihomestudio.com can polish your photos with tools that go far beyond smartphone apps.
These services offer features like:
- Sky replacement
- Day-to-dusk transformations
- Virtual staging
- Object removal
- Line correction and tone enhancement
Many services start at just $1.50–$2 per image, and the ROI can be dramatic. The Center for REALTOR® Development reports that listings enhanced with professional editing receive up to 61% more engagement on online platforms.
For high-value properties, limited availability, or competitive neighborhoods, professional editing can elevate your entire presentation and give your listing a decisive edge.
Suggestions for Professional Photo Editing Services
If you are looking for a professional virtual staging service at an affordable price, Digihomestudio.com is a worthy place for you to trust and accompany. You can expect to invest around $29 for a meticulously designed and lifelike final image, suitable for showcasing your home across various digital platforms.
We have a network of world-class virtual stage editors and designers in Vietnam. To ensure the best level of service, the customer service team is located in the US.
Our virtual home staging services include:
- Staging for empty or furnished rooms
- 2D and 3D floor plans
- Change the color of the walls and floors
- Virtual renovation
- Erase furniture and small objects
- And much more!
If you’re prepared to elevate your real estate marketing strategies, reach out to Digihomestudio.com now and experience the benefits of collaborating with one of the top virtual staging firms available today.
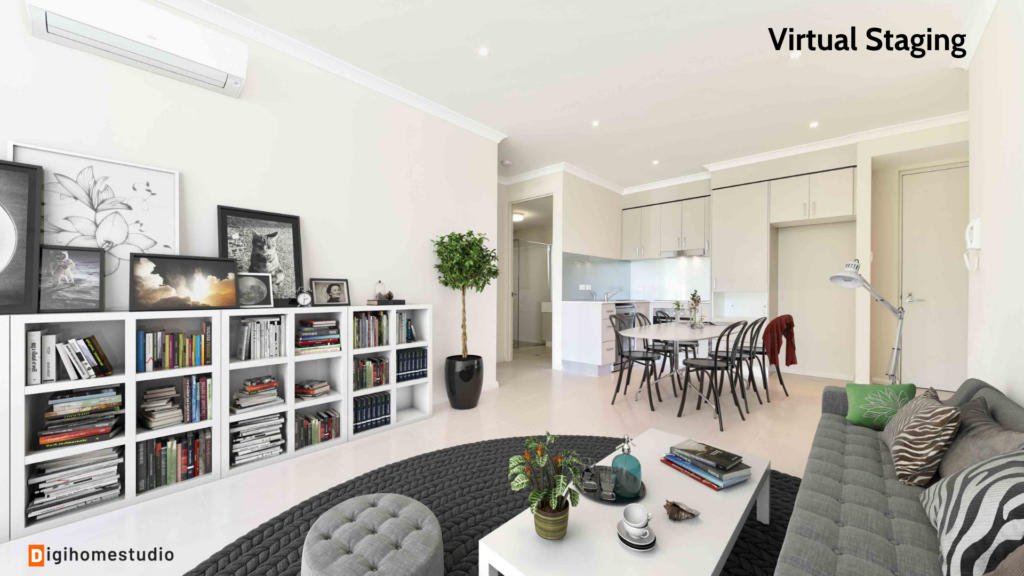
Virtual Staging by Digihomestudio.com
Conclusion: You Don’t Need to Be a Pro to Shoot Like One
Real estate photography isn’t about having the most expensive camera—it’s about having the right mindset and strategy. With preparation, lighting, and a little patience, anyone can create powerful images that capture attention and build buyer confidence.
Consistency is key. Take your time, check each room carefully, and aim to tell a cohesive visual story. Remember, every image is a chance to build interest and trust.
The modern homebuyer expects professional-quality photos. With these tips, you’ll be ready to deliver them—even without a professional behind the lens.