Welcome to our in-depth guide on room photography tips, where we explore the art of capturing picture-perfect interiors. Whether you are a professional photographer, an aspiring creative, or a real estate agent who needs listing photos that actually sell, these proven techniques will help you take your interior photography to the next level. From planning your shoot to mastering light, composition, and post-processing, every step matters when the goal is to make rooms look their absolute best.
Why Interior Photography Matters
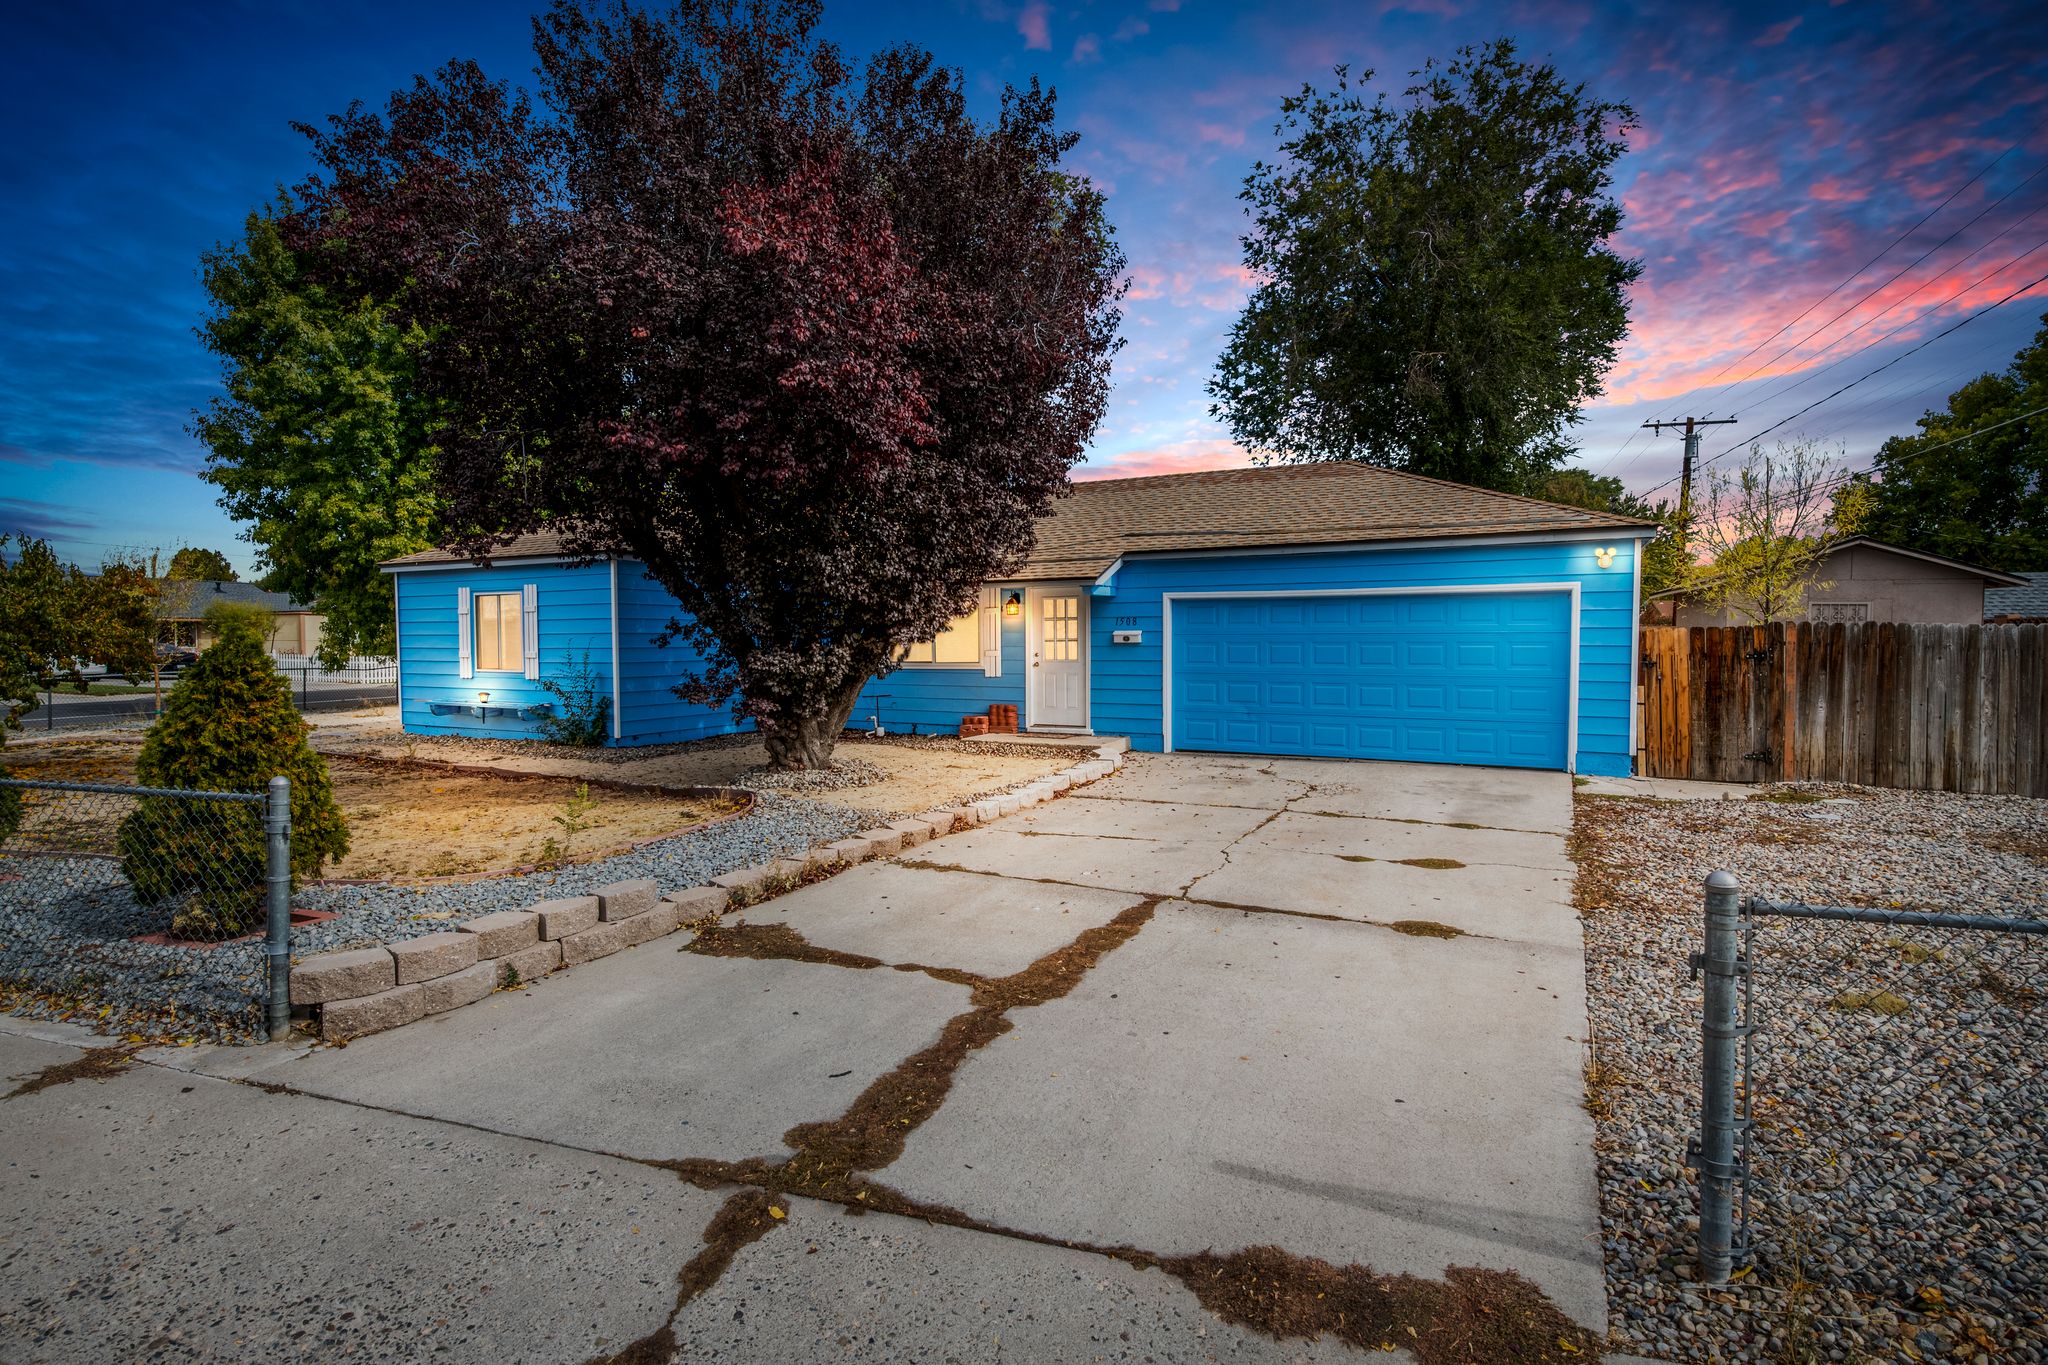
In real estate, interior photos are the first thing buyers see. According to the National Association of Realtors, 97% of home buyers begin their search online, and listings with professional-quality photos receive significantly more views than those with amateur snapshots.
Beyond real estate, strong interior photography is essential for interior designers showcasing portfolios, hospitality brands marketing hotel rooms, and homeowners documenting renovation projects. Regardless of your reason for shooting interiors, the principles below will help you produce images that are sharp, balanced, and visually compelling.
1. Plan and Prepare Before You Shoot
Careful planning is one of the most underrated room photography tips. Before you pick up your camera, walk through the space and evaluate what you are working with.
Clear the clutter. Remove personal items, excess furniture, and anything that does not contribute to the visual story. A clean, organized space photographs far better than one filled with distractions. Pay special attention to kitchen counters, bathroom vanities, and coffee tables where clutter tends to accumulate.
Assess the architecture. Identify the room's strongest features. Is there a dramatic ceiling line, a beautiful fireplace, or an expansive window view? Make note of these elements because they should become focal points in your compositions.
Visualize your shots. Before shooting a single frame, imagine the final images you want to create. Decide which angles will showcase the room best, which features to highlight, and how many photos you need. This mental preparation saves time during the actual shoot and ensures you do not miss key perspectives.
Style the space. Small styling touches make a big difference. Add fresh flowers, neatly folded towels, a bowl of fruit, or a few carefully placed books. These elements add life and warmth to interior photos without creating visual clutter.
2. Harness the Power of Natural Light
Natural light is one of the most powerful tools in room photography. It creates depth, warmth, and a sense of realism that artificial lighting rarely matches.
Time your shoot wisely. The golden hours of early morning and late afternoon produce warm, soft light that flatters every interior. Midday light can be harsh and create strong shadows, but it works well in rooms with north-facing windows or diffused light.
Work with windows and doors. Position yourself to use natural light from windows, doors, and skylights as your primary light source. Open curtains and blinds fully to let in maximum light. In rooms with multiple windows, the light quality changes throughout the day, so be prepared to adjust your timing.
Manage mixed lighting. One of the most common mistakes in interior photography is mixing natural light with artificial light. Tungsten bulbs cast a warm orange glow while natural light is cooler, creating unsightly color casts in your photos. For the cleanest results, turn off all artificial lights and rely solely on natural light. If the room is too dark, use bounce boards or diffused supplemental lighting that matches the color temperature of daylight.
Overcast days can be your friend. Cloud cover acts as a natural diffuser, creating even, soft light without harsh shadows. Many professional interior photographers actually prefer overcast conditions for this reason.
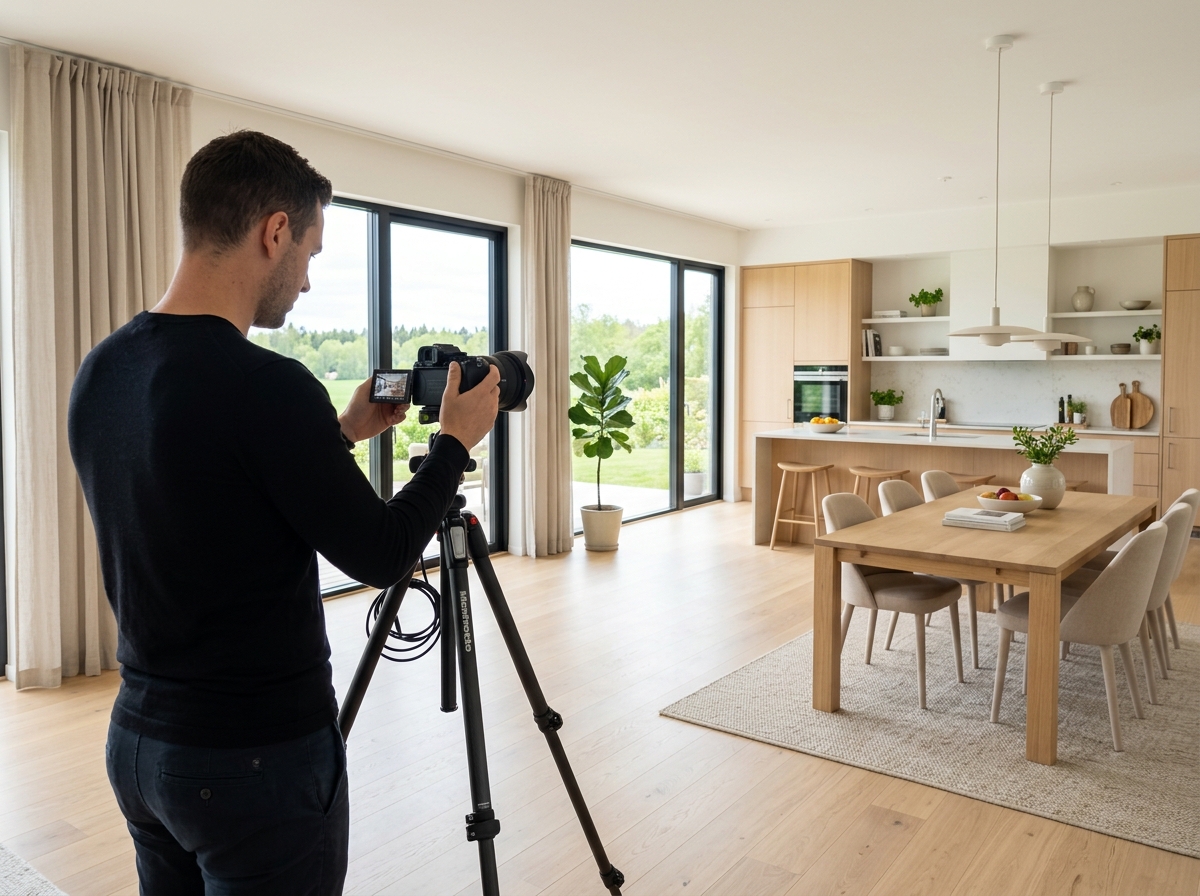
3. Use Proper Equipment
The right equipment can dramatically improve the quality of your room photography. While a smartphone can capture acceptable images in a pinch, dedicated camera gear opens up significantly more creative possibilities.
Camera body. A DSLR or mirrorless camera with manual exposure controls gives you precise command over aperture, shutter speed, and ISO. This level of control is essential for consistently well-exposed interior images.
Wide-angle lens. A wide-angle lens, typically in the 16-24mm range on a full-frame camera, is the standard choice for interiors. It captures more of the room in a single frame, making spaces feel open and inviting. However, avoid ultra-wide or fisheye lenses, which distort straight lines and make rooms look unnatural.
Tripod. A sturdy tripod is non-negotiable for interior photography. It eliminates camera shake, allows longer exposures in low-light conditions, and ensures your horizon lines are perfectly level. Crooked photos are one of the fastest ways to make a listing look amateur.
Remote shutter release. Using a remote trigger or your camera's timer function eliminates the small vibrations caused by pressing the shutter button. This results in sharper images, especially at slower shutter speeds.
Spirit level or electronic level. Most cameras have built-in electronic levels. Use them. Perfectly level photos instantly look more professional and require less cropping in post-production.
4. Master Composition and Framing
Composition is what separates a snapshot from a photograph. The way you frame a room determines how viewers experience the space.
Shoot from corners. Positioning your camera in a corner of the room and shooting diagonally across the space captures the maximum amount of the room while creating natural depth. This is one of the most effective angles for real estate photography.
Maintain straight verticals. Keep your camera level and avoid tilting it up or down. Tilted perspectives cause vertical lines like walls, doorframes, and cabinets to converge, making the room look distorted. If you need to capture tall ceilings, raise your tripod height rather than angling the camera upward.
Use leading lines. Architectural elements like hallways, countertops, floor patterns, and furniture arrangements create leading lines that draw the viewer's eye through the frame. Use these elements intentionally to guide the viewer's gaze toward the room's best features.
Pay attention to symmetry. When a room has symmetrical elements such as matching windows, a centered fireplace, or a balanced furniture arrangement, position your camera on the axis of symmetry. Perfectly symmetrical compositions create a sense of harmony and order that is deeply satisfying to viewers.
Vary your perspectives. Do not shoot every room from eye level. Try lower angles to emphasize the scale of a room or higher angles to show floor patterns and furniture arrangements. Different perspectives create visual variety in your photo set and keep viewers engaged as they scroll through images.
5. Pay Attention to Every Detail
In room photography, small details make or break the final image. Train your eye to spot distractions before you press the shutter.
Check reflections. Mirrors, windows, glass tables, and polished surfaces can reflect you, your equipment, or unflattering elements. Always check reflective surfaces in your frame and adjust your position to eliminate unwanted reflections.
Straighten everything. Crooked picture frames, uneven curtains, and misaligned furniture cushions are immediately noticeable in photographs. Take a few minutes before each shot to straighten every visible element.
Capture the textures. The tactile quality of materials adds richness to interior photos. Soft fabrics, wood grain, natural stone, and metallic finishes all contribute to the visual depth of an image. Position your lighting to enhance these textures rather than flatten them.
Style the small things. A neatly placed book, a folded throw blanket, or a single stem of greenery on a nightstand adds warmth and livability to the image. These are the details that make viewers feel welcome and help them imagine themselves in the space.
6. Post-Processing for Professional Results
Post-processing is the final step that elevates good interior photos into exceptional ones. Modern photo editing software gives you powerful tools to refine your images while maintaining a natural and authentic look.
Correct exposure and white balance. Start by ensuring your image has accurate brightness and natural-looking colors. Interiors often benefit from slightly brighter processing that keeps the space feeling open and airy.
Straighten and crop. Even with a tripod, slight imperfections in alignment can occur. Use lens correction tools to fix barrel distortion from wide-angle lenses, and crop to refine your composition.
Enhance shadows and highlights. Interior photos often have a wide dynamic range between bright windows and darker corners. Use shadow recovery and highlight control to ensure detail is visible throughout the frame without the image looking flat or over-processed.
Sharpen selectively. Apply sharpening to bring out architectural details and textures, but avoid over-sharpening, which creates harsh, unnatural edges. Apply sharpening at the end of your workflow after all other adjustments.
Maintain authenticity. The most important rule in real estate photo editing is honesty. Enhance the image to reflect how the room looks in person at its best. Avoid manipulations that misrepresent the space, such as removing permanent fixtures, changing wall colors, or digitally enlarging rooms.
Bringing It All Together
Room photography is a skill that improves with deliberate practice and attention to detail. Every successful interior photo starts with thoughtful preparation, makes the most of available light, and refines the result through careful editing.
Start by applying one or two of these room photography tips to your next shoot, then gradually incorporate more techniques as they become second nature. Review your images critically, compare them to professional work, and identify specific areas for improvement.
With patience and consistency, you will develop an eye for capturing interiors that feel inviting, professional, and true to the character of each space. Your photos will not just document rooms. They will tell stories that inspire viewers to step inside.