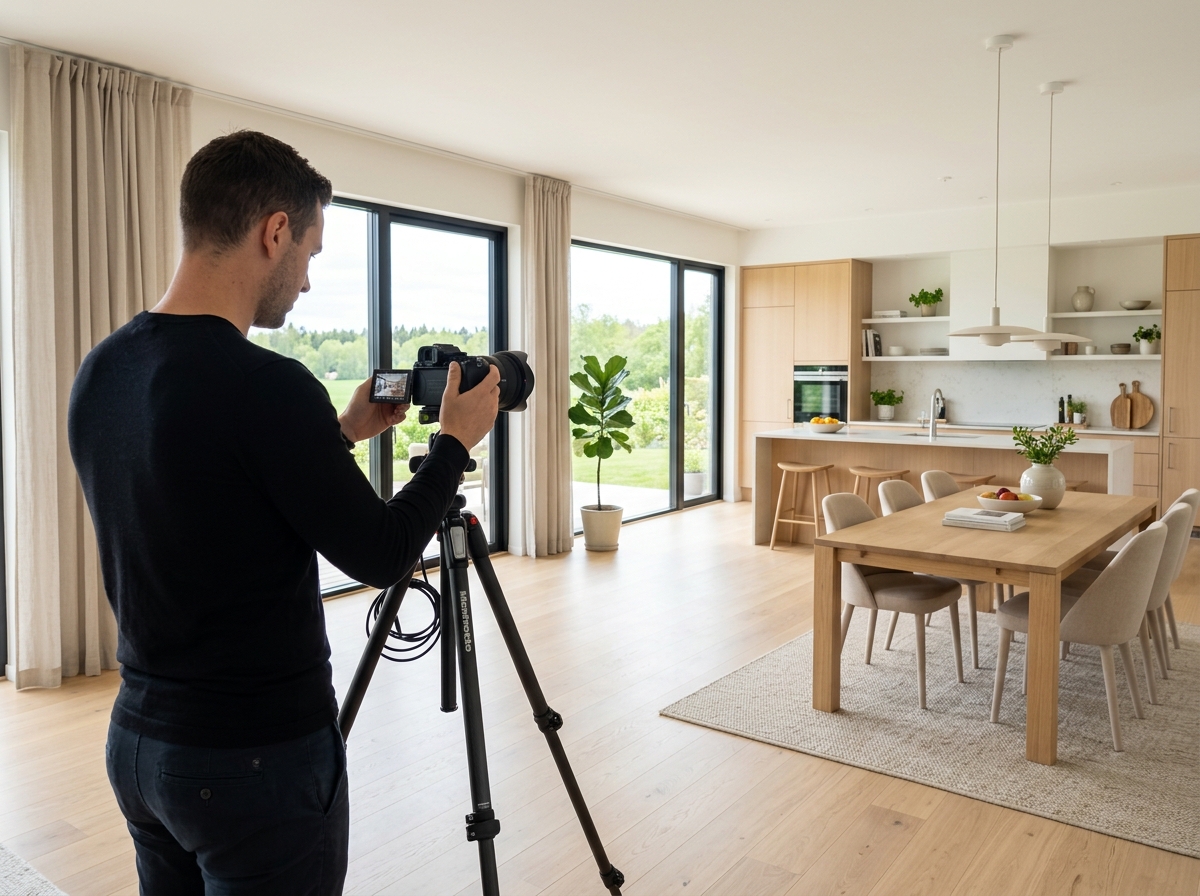
Real estate photography depends on clarity. Buyers scroll quickly, compare listings side by side, and make snap judgments based on how bright, open, and trustworthy a property feels in photos. When harsh shadows block corners, darken flooring, or hide room details, that first impression weakens immediately.
That is why shadow removal editing matters. It is not about making every room look flat or artificially bright. It is about reducing the kind of shadows that distract from the property, misrepresent the space, or make the room feel smaller and less usable than it is.
This guide covers five practical ways to handle shadow removal editing more effectively. It starts before the edit, continues through Lightroom and Photoshop decisions, and ends with the point where outsourcing may be the smarter move.
If you are trying to improve listing quality more broadly, this topic also connects closely to professional real estate photo editing and to the wider question of how shadow removal elevates real estate photos.
1. Reduce Problem Shadows Before You Start Editing
The fastest shadow removal workflow is the one that starts with a better source image.
Not every shadow can or should be removed in post. Some are created by the room's natural light pattern and help preserve depth. Others are the result of poor shooting conditions or avoidable exposure choices. Those are the shadows that cost the most time later.
To reduce cleanup work, focus on these habits during the shoot:
- Photograph interiors when natural light is stable, not when direct sun is cutting hard lines through the room.
- Bracket exposures when the room has bright windows and dark corners.
- Turn on practical lights only if they help the room read naturally and do not introduce ugly mixed-color patches.
- Use a tripod so you can keep ISO lower and preserve cleaner detail in darker areas.
- Watch corners, ceilings, and under-cabinet zones in the preview instead of assuming they can all be fixed later.
This step matters because shadow removal is rarely a single slider adjustment. Once a dark area loses texture or becomes noisy, the edit becomes more about damage control than enhancement.
A good rule is simple: if the room already looks balanced before editing, shadow correction becomes refinement. If the room starts with clipped highlights and muddy shadows, the editor has to fight the file.
2. Start With Global Light Balance Before Local Corrections
Many editors make shadow removal harder than it needs to be because they jump straight into local retouching. They dodge one corner, brush another wall, and then try to fix the overall image after the fact. That sequence often creates uneven brightness and a patchy final look.
The better approach is to start broad.
In Lightroom or Adobe Camera Raw, begin by evaluating the full frame:
- overall exposure
- highlight retention
- shadow recovery
- black point
- white balance
- contrast
The goal is not to remove every shadow in one move. The goal is to get the whole room into a believable range before making selective edits.
A practical sequence looks like this:
- Recover highlights so window areas and bright walls do not clip.
- Lift shadows carefully until detail returns in dark furniture, corners, and flooring.
- Adjust blacks so the image still has depth.
- Recheck white balance, because lifting shadows often changes how warm or cool the image feels.
- Only then move into local corrections.
This prevents a common mistake: brightening one part of the frame so aggressively that it no longer matches the rest of the room.
Shadow-heavy interiors often fool editors into pushing exposure too far. The image becomes lighter, but also flatter. Walls lose dimension. Trim stops separating from the background. The room starts to feel washed out rather than inviting.
That is why shadow removal should be treated as balance work, not brightness work.
If you want a broader reference on editing mistakes that often show up in these situations, see 11 common photo editing mistakes and how to fix them. Crushed shadows, bad white balance, and inconsistent local adjustments often happen together.
3. Use Local Adjustments to Solve Specific Shadow Problems
Once the global balance is in a good place, then it makes sense to correct the remaining trouble spots.
The best local shadow removal work is precise. It responds to what the room actually needs instead of applying the same treatment everywhere. In real estate images, there are a few common problem patterns:
Window-side contrast
Rooms with strong daylight often have bright window walls and underexposed opposite corners. In these cases, a brush or mask can lift the darker side of the room without destroying the brighter side.
Furniture cast shadows
Beds, dining chairs, sofas, and islands often create heavy shadows underneath or behind them. These shadows can make the floor look dirty or the furniture feel heavier than it should. The fix is usually selective brightening with care to preserve grounding.
Ceiling and upper-wall falloff
Some rooms photograph with dark ceiling transitions or uneven upper corners, especially with mixed natural and artificial lighting. These areas often need gentle gradient-based correction rather than strong manual brushing.
Texture loss in dark finishes
Dark wood cabinets, matte tile, and shadowed countertops can lose detail fast. In these situations, lifting luminance alone is not enough. You may also need to protect texture with clarity, noise control, and careful black-point adjustment.
Photoshop helps when Lightroom-style tonal adjustments stop being enough. Layer masks, luminosity masks, soft dodge work, and low-opacity curves adjustments let you target problem areas more carefully. The key is restraint. If the edit calls attention to itself, it is probably too strong.
A useful test is to step back from the screen and ask one question: does the room still look like it was photographed under real light? If the answer is no, the correction has gone too far.
4. Protect Realism While Removing Distracting Shadows
This is the point where many edits fail.
Shadow removal sounds simple, but in real estate photography it sits very close to the line between enhancement and misrepresentation. If you remove all contrast, make the room glow evenly from edge to edge, or erase every grounding shadow under furniture, the result may look technically polished but visually false.
Real rooms need some shadow structure.
Natural-looking shadow removal keeps:
- depth under furniture
- directional light that matches windows and fixtures
- tonal variation between surfaces
- believable transitions in corners and wall junctions
What it removes is the distraction:
- heavy blotches
- blocked detail
- muddy corners
- harsh contrast that makes the room feel smaller
- dark areas that pull attention away from the listing features
This matters even more when editing is combined with staging or enhancement work. If a virtually staged image has unrealistic floor shadows or mismatched light direction, the whole image feels off. That is one reason human review still matters. Automated tools can speed up early corrections, but they are not always reliable when a room has complicated window light, dark materials, or mixed color temperatures. If you want a broader view of that limitation, see AI limitations in real estate photo editing.
Another realism check is consistency across the gallery. One bright, low-contrast image beside four darker, more natural images makes the listing feel uneven. The goal is not only to improve one hero shot. It is to keep the whole photo set visually coherent.
5. Know When Shadow Removal Should Be Outsourced
Some shadow problems are routine. Others are production drains.
If you are handling a few listing photos at a time, editing shadows in-house may be fine. But if you are managing high volume, working against fast listing deadlines, or trying to maintain consistency across multiple properties, shadow removal can become one of those tasks that consumes more time than it appears to on paper.
Outsourcing starts making sense when:
- you are batch-editing large photo sets every week
- difficult lighting conditions keep slowing delivery
- your current edits are inconsistent from one listing to another
- you are spending too much time on cleanup instead of shooting
- you need a repeatable style across a team or business
What professional editors do well is not just brightness correction. They understand how shadow cleanup fits with perspective correction, color balance, window pulls, sky replacement, object cleanup, and virtual staging. In other words, they are not solving one isolated problem. They are delivering a listing-ready image.
That is especially useful when the image needs multiple fixes at once. A dark interior with strong window contrast, tilted verticals, mixed color temperature, and distracting clutter is not really a "shadow removal job." It is a complete post-production job.
This is also where workflow value matters. If faster turnaround and consistent quality help you publish listings sooner, outsourcing is not just an editing expense. It is an operational decision.
Common Shadow Removal Mistakes to Avoid
Even experienced editors tend to fall into the same traps when correcting dark interiors. Watch for these:
Over-brightening corners
If every corner is lifted to the same brightness as the center of the room, the space starts looking artificial. Corners do not need to glow. They need to remain readable.
Ignoring white balance shifts
Shadow lifting often reveals cooler tones, especially on walls and floors. If you do not rebalance color afterward, the room can end up with patchy blue or gray zones.
Letting noise creep in
Raising shadows aggressively often exposes noise and texture breakup. If you do not catch it early, the image may look clean at first glance but fall apart on zoom.
Treating every room the same
A bright coastal living room, a dark condo kitchen, and a luxury bedroom with directional daylight all need different correction choices. Preset-heavy workflows often fail here.
Editing one image without thinking about the gallery
A listing is a sequence, not a single photo. Shadow handling should feel consistent across the set, especially in rooms connected by the same lighting conditions.
A Simple Workflow for Better Results
If you want a repeatable method, use this five-step check on every shadow-heavy image:
- Start with the strongest raw exposure you can get from the shoot.
- Balance highlights, exposure, shadows, and blacks globally.
- Fix color temperature before making aggressive local corrections.
- Use local masks only on the areas that still distract.
- Compare the final image against the rest of the listing set before export.
That sequence helps you avoid the two most common outcomes: overworked files and inconsistent galleries.
Final Thoughts
Shadow removal editing is one of the most useful skills in real estate photography because it directly affects how buyers read space. Done well, it makes interiors feel cleaner, brighter, and easier to understand. Done poorly, it makes photos look flat, noisy, or overly manipulated.
The difference usually comes down to judgment. Good editors know which shadows to soften, which to keep, and how to protect realism while improving visibility.
If your current workflow still struggles with dark interiors, start by improving capture, then tighten your global adjustments, then use local tools more selectively. And if the volume or complexity keeps growing, it may be time to treat shadow removal as part of a larger real estate photo editing FAQ workflow rather than a one-off fix.
For many listing teams and photographers, the best result is not perfectly shadow-free photos. It is realistic, market-ready images that help the property read clearly from the first scroll.