Listings with professional-quality photos get 118% more views than listings with amateur shots, per Redfin reporting cited across industry coverage. That number decides which homes get shown and which get scrolled past.
The catch: the edit itself can kill the deal it was supposed to save. A sky replacement with the wrong light direction, grass so neon it glows, a power pole cloned out of the lead photo — buyers notice. One obvious manipulation burns more trust than ten clean corrections build.
This guide covers the full picture for 2026: what professional real estate photo editing services actually include, what each tier costs per image, where MLS compliance draws the line, and how to pick a provider you can hand volume to without checking every frame.
Digihomestudio edits listing photos for a living, so this is written from the production side — what gets asked for, what gets rejected at QA, what agents argue about. One free trial of your own images will tell you more than any paragraph here.
TL;DR: Professional real estate photo editing corrects exposure, white balance, window pulls, verticals, sky, and clutter — the corrections that make listings convert. Pricing runs $0.50–$2.00/image for basic corrections, $2.00–$5.00 for standard editing, $5.00–$15.00 for advanced retouching and twilight, and $25–$50/image for virtual staging. Temporary conditions can be fixed; permanent fixtures cannot be removed under MLS rules. Choose a provider on sample edits, turnaround SLA, human QA, and a written compliance policy — in that order. Test all four with a free trial before committing volume.
What Is Real Estate Photo Editing?
Real estate photo editing is post-production correction that presents a property at its true, best look — fixing what the camera sensor got wrong without changing what the property is.
A camera captures one exposure. Your eye captures the room and the view through the window at the same time. Closing that gap is most of the job: bracketed exposures blended for window pulls, white balance pinned to neutral (aim 5000–5500K for daylight interiors, then warm it slightly for tungsten-lit evenings), verticals pulled back to true 90 degrees.
The standard service menu breaks into six buckets:
- Exposure and color correction — lift shadows, recover highlights, kill orange casts from ceiling bulbs.
- Window pulls — blend flash or bracketed exterior frames into the interior shot so the view reads instead of blowing out to white. Our breakdown of the flambient method shows how flash/ambient blending differs from bracketed HDR.
- Perspective correction — fix wide-angle keystone warp so door frames and cabinet edges stand straight. This changes lens distortion, never room dimensions.
- Sky and lawn — realistic blue-sky replacement, lawn patch greening matched to the season.
- Declutter and object removal — cords, trash cans, refrigerator magnets, delivery trucks. Temporary stuff.
- Twilight and staging — day-to-dusk conversion and virtual staging, both of which need disclosure (more below).
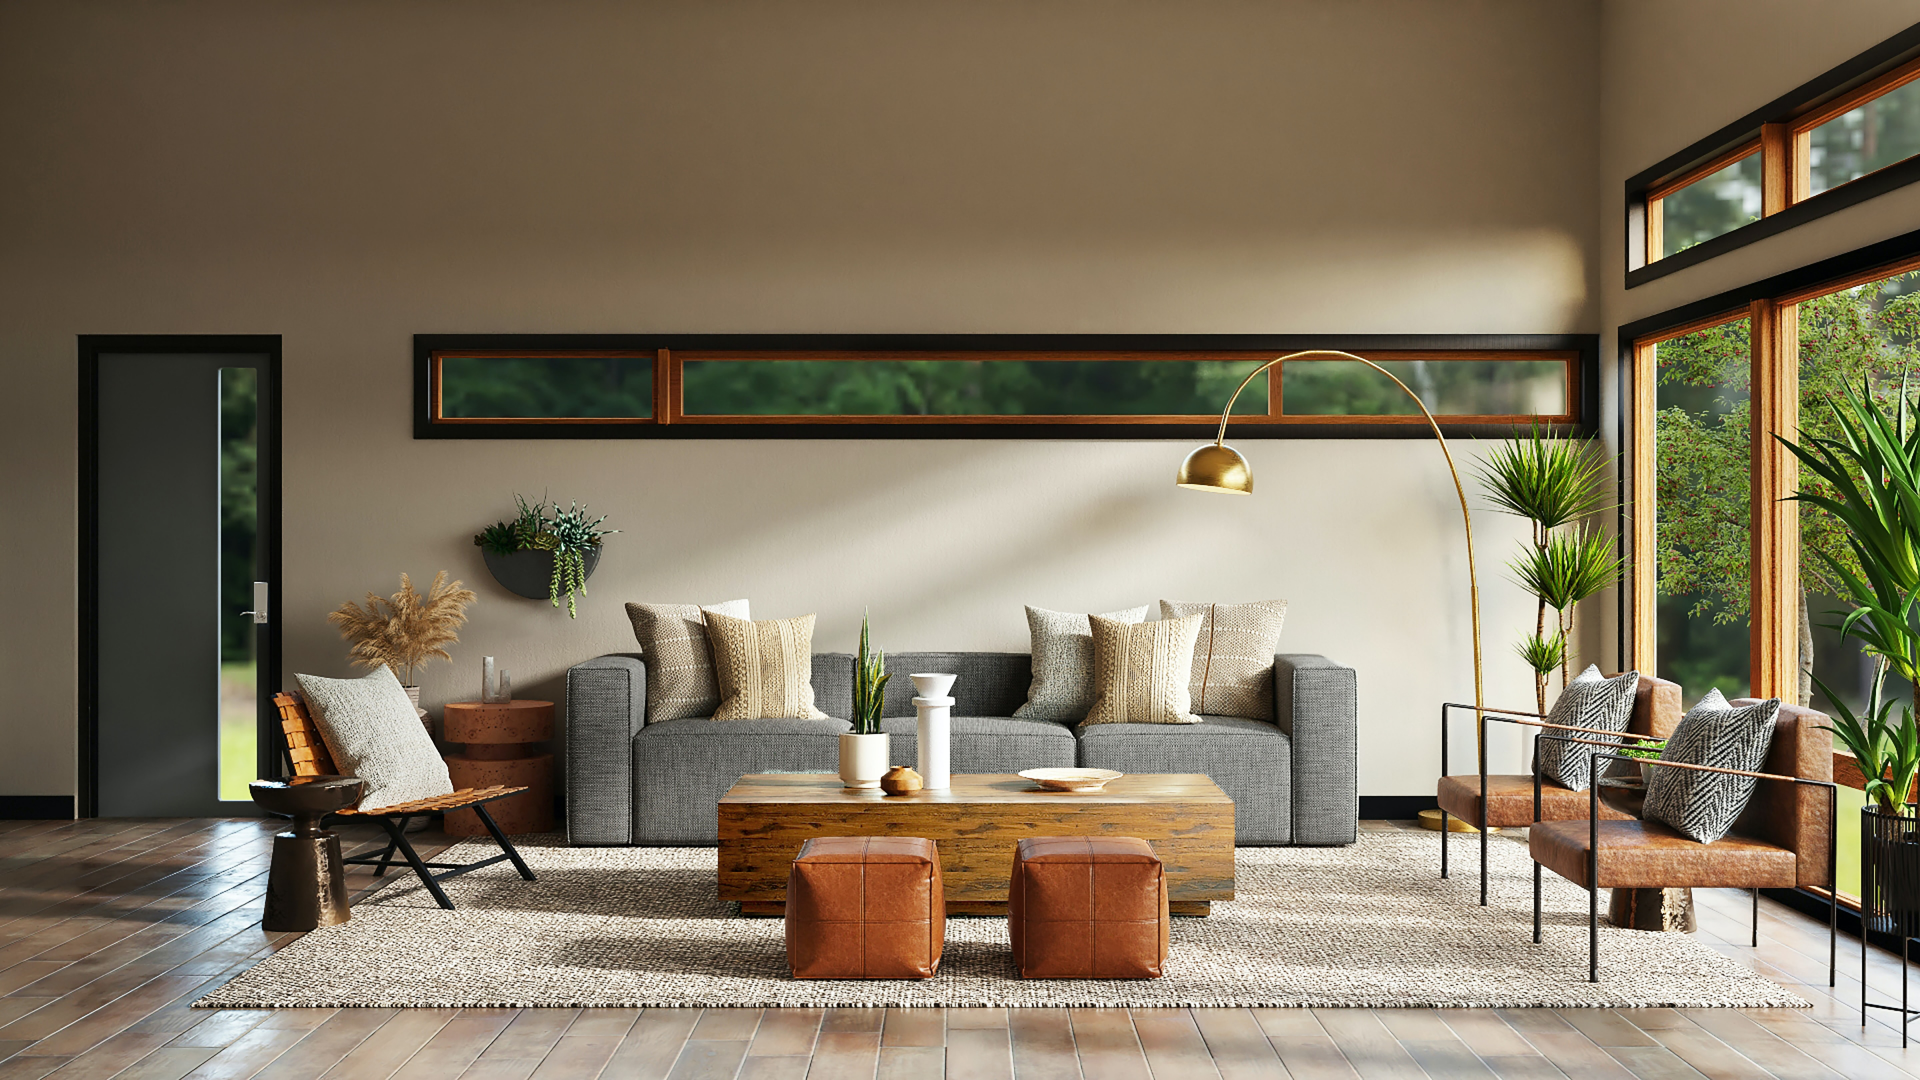
Same room, same shoot. Exposure balance, neutral white balance, controlled saturation — no geometry changed.
If you want the service-level view rather than the technique view, the 2026 editing pricing guide maps each of these buckets to its price tier.
Why Professional Photo Editing Matters in 2026
Buyers decide in seconds, on a phone screen, between your listing and eleven others. Photo quality is the filter.
Three numbers get quoted everywhere in this industry, so here they are with their sources as published — verify current editions before you cite them to a seller:
- 32% faster sales, up to 47% higher asking price per square foot for homes with high-quality images vs. low-quality ones (PR Newswire–covered study).
- 118% more views for listings with professional-quality photos (Redfin).
- $3,400–$11,200 more on homes priced $200K–$1M when professionally photographed (Wall Street Journal reporting).
Our own coverage of how image enhancement moves listings digs into what each of these means in practice.
Two 2026 pressures make this harder than it was three years ago. AI editing tools got fast enough that "edited" photos are everywhere, so buyers got better at spotting fakes — the bar for believable retouching rose. And portal thumbnails got smaller, which punishes muddy exposures and rewards clean window pulls and straight verticals disproportionately. Speed matters, but invisible quality matters more. Where editing is headed next covers the AI-vs-manual split in detail.
What Real Estate Photo Editing Services Include
A full-service provider covers the ladder from basic corrections to virtual staging. Here is what each rung means, so you can brief a provider precisely instead of asking for "make them pop."
Exposure, White Balance, and Color
Base layer for every image. The editor balances the ambient and flash frames, sets a neutral white point, and controls saturation so grass stays grass-colored instead of highlighter green. Typical targets: recover 1–2 stops of window highlight, hold interior shadows above crush, keep wall paint within the shade the buyer will see at walkthrough.
Window Pulls and HDR Blending
The money skill. A proper pull keeps exterior detail — tree lines, neighboring rooflines, actual sky brightness — without dark halos around the window frame or gray ghost transparency on the glass. Flambient (flash + ambient blend) gives cleaner color on walls; bracketed HDR gives wider dynamic range on bright exteriors. Pick per room, not per listing.
Vertical and Keystone Correction
Wide lenses tilt verticals inward. Manual correction re-squares door frames and cabinet edges while cropping as little as possible. Automated lens profiles get you 80% there; the last 20% — converging corners in tight bathrooms, tilted high-rises — takes a human eye.
Sky Replacement and Lawn Greening
Allowed across most MLS boards when the result matches prime-season reality: a believable blue sky with light direction consistent with the shadows on the house, lawn patches filled rather than whole yards re-sodded. Our blue-sky guide shows where the believable line sits.
Clutter and Object Removal
Temporary items go: cords, hoses, trash cans, pet beds, cars in the driveway, fallen leaves. For full room cleanouts, tenant clutter, or heavy furniture removal, see our dedicated guide to virtual decluttering and object removal. (Seasonal leaf cleanup has its own technique — see the leaves edit guide.) Shadow cleanup in this pass matters more than most agents expect; shadow removal done right reads as "clean room" while overdone removal reads as "fake room."
Twilight Conversion and Virtual Staging
Day-to-dusk exterior conversion and furniture placement in vacant rooms. Both convert listings — twilight shots pull clicks, staged rooms sell scale — and both require disclosure labels. Staging quality varies wildly; virtual staging vs. physical staging compares cost and turnaround honestly.
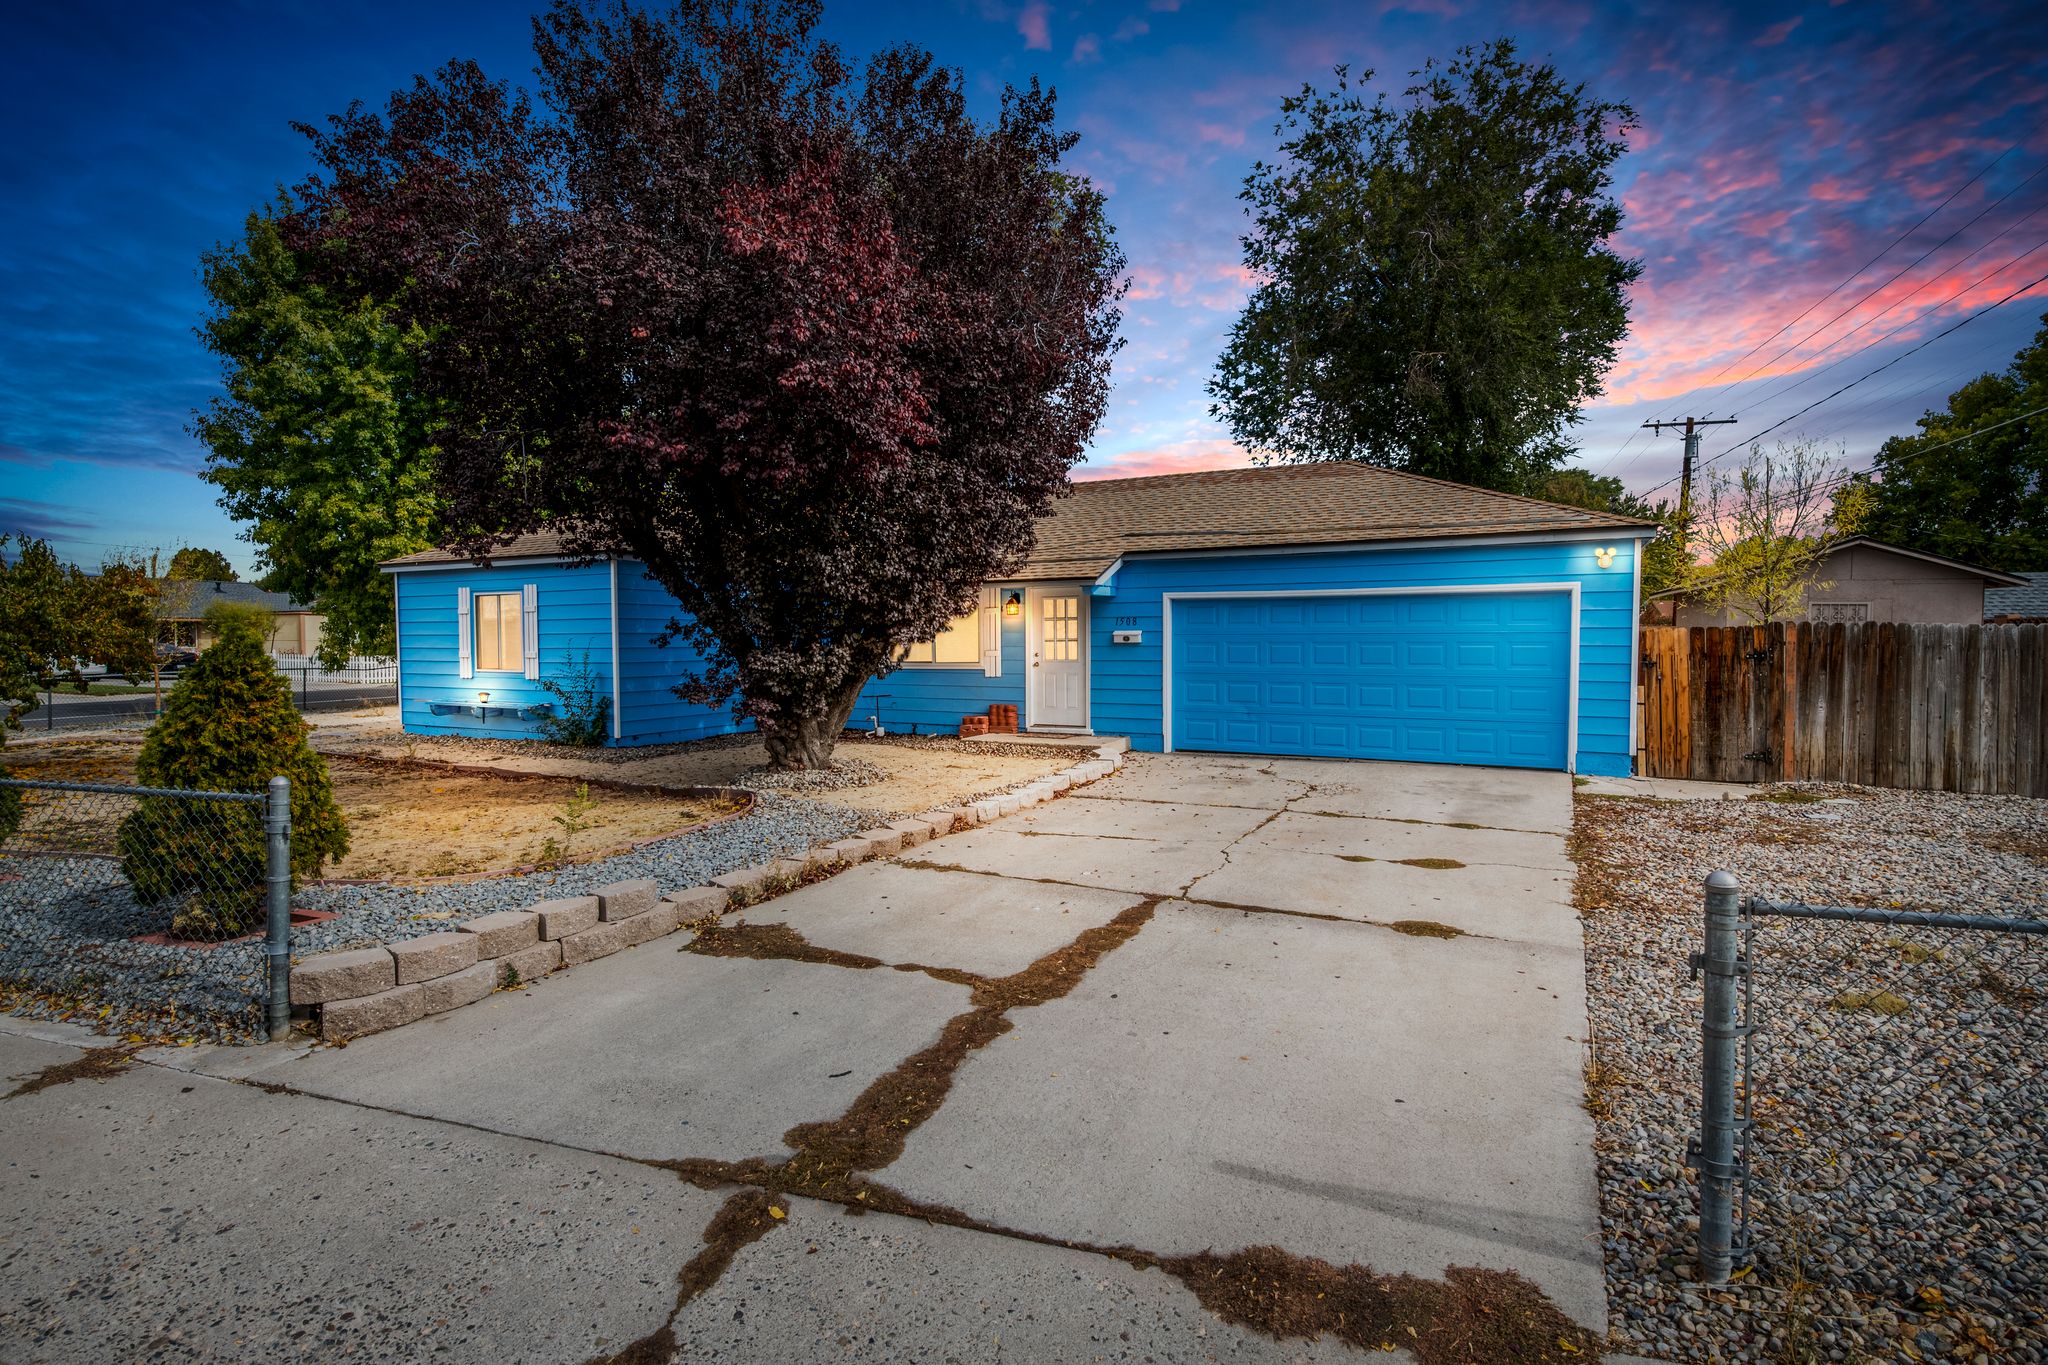
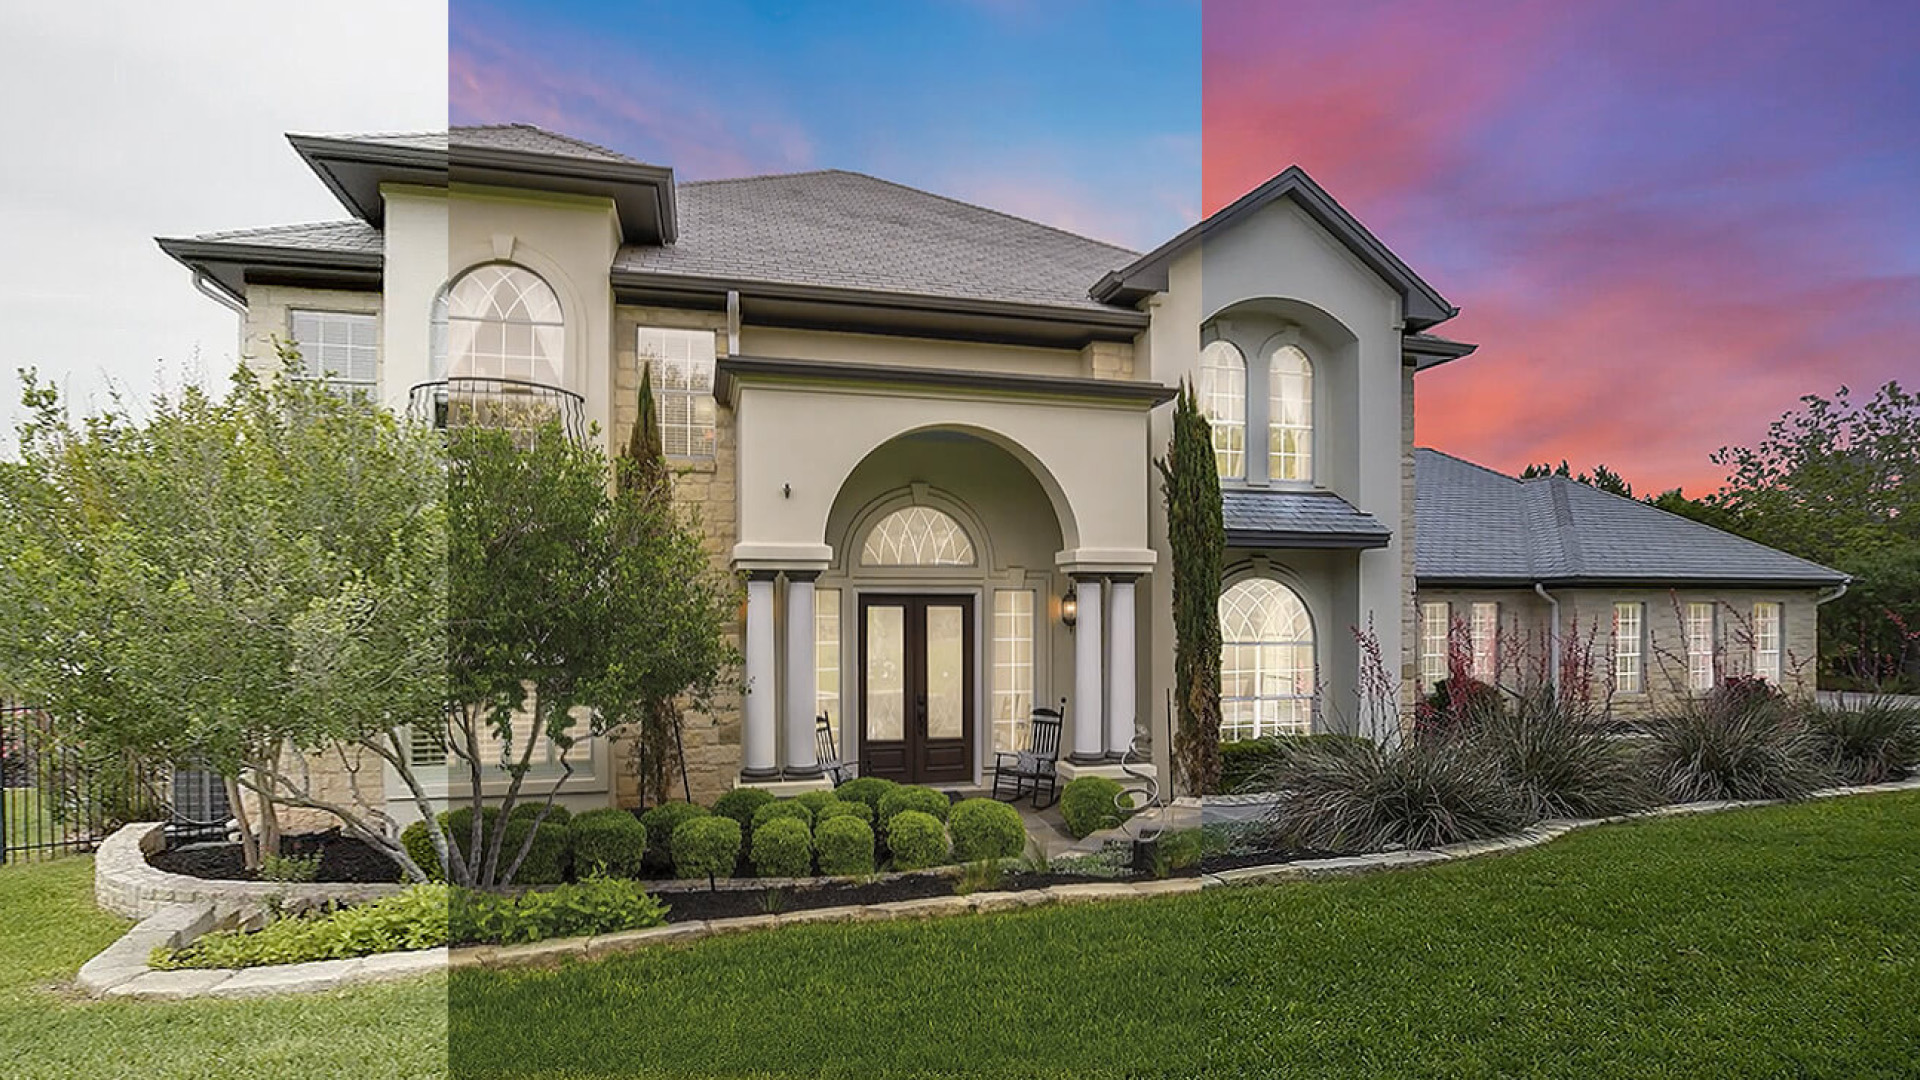
Twilight conversion works when the glow matches the house: warm windows, cool sky, one light direction.
Vacant bedroom staged virtually. Note furniture scale matched to real dimensions — queen bed width, walkway clearance — which is what separates convincing staging from dollhouse renders.
Real Estate Photo Editing Pricing in 2026
Short version, drawn from our full 2026 pricing breakdown:
| Service tier | Price per image | What it covers |
|---|---|---|
| Basic corrections | $0.50–$2.00 | Exposure, white balance, straightening |
| Standard editing | $2.00–$5.00 | Color correction, window pulls, minor object removal |
| Advanced retouching | $5.00–$15.00 | HDR blending, sky replacement, clutter removal, twilight conversion |
| Virtual staging | $25–$50 | Furniture placement per staged image |
Three pricing models exist beyond per-image. Per-listing packages run roughly $30–$80 for a small condo, $60–$150 for a standard single-family home, $120–$300+ for large or luxury properties — usually cheaper when you need 20–40 consistent images. Subscription retainers ($100–$300 starter, $300–$800 professional, custom above ~500 images/month) win for brokerages listing 5–10+ properties monthly.
Two cost levers agents underestimate:
- Turnaround. Standard 24–48 hours ships at base rate. Rush or same-day adds 25–50%. If you always need fast, negotiate it into the base rate instead of bleeding rush fees weekly.
- Scope split. Half your batch needs basic correction, half needs advanced work. Price them separately. A provider quoting the whole batch at the advanced rate is padding.
Ask what the base rate includes before comparing quotes: revisions (one round should be standard), sky replacement, HDR blending, and lawn work are the usual "included vs. extra" fault lines. As a rule of thumb drawn from provider menus:
Usually included in the base rate: exposure and contrast correction, white balance, vertical/horizontal alignment, basic color correction, minor object removal (small clutter, cords).
Often priced separately: sky replacement, twilight conversion, advanced object removal (large furniture, vehicles), virtual staging, lawn greening, HDR blending from brackets, floor plan drawing.
What Manual QA Catches (and Why It Is the Decision Criterion)
Every provider promises "high quality." The ones who deliver it run every image past a human reviewer before delivery — not just the AI or the first-pass editor. Here is what that review catches, and what to demand in writing.
The four-point check. Window borders (halos, gray transparency, mismatched exterior brightness), light-fixture color casts (a single orange downlight left uncorrected in a neutral room), verticals (one leaning door frame in a 30-image set), sensor dust spots (dark dots in sky areas, cloned out). Run this check on your sample test and on every first delivery from a new provider.
Consistency across the batch. The harder QA problem is not one bad image — it is drift. Image 4 graded warm, image 22 graded cool, because two editors split the batch or one editor worked tired. A studio with a style guide and a single reviewer signing off holds white balance and saturation within a tight band across all 30 frames. Ask how they do it: named reviewer, checklist, or nothing.
The revision loop. Even good studios miss a preference — you like skies punchier, shadows more open. One included revision round is standard; what matters is turnaround on the rework (same SLA as first delivery, ideally) and whether revisions go back to the same editor who knows your file.
Price-first providers cut QA first, because review time is labor cost with no line item. When a quote lands 40% below market, the missing money usually comes out of this step. That is why sample edits sit at the top of the selection framework: they are the only way to see QA before you pay for its absence.
MLS Compliance and Ethical Editing: What's Allowed
One rule covers nearly everything:
Temporary conditions can be fixed or removed. Permanent fixtures and structural flaws cannot.
The table below is the working summary. For board-level specifics on staged photos, see virtual staging and MLS and staging legality, and use caption disclaimers as standard practice.
| Edit | Status | Disclosure needed? |
|---|---|---|
| Exposure, white balance, color casts | Allowed | No |
| Window pulls matching the real view | Allowed | No |
| Vertical and lens straightening | Allowed | No |
| Removing cords, trash cans, clutter | Allowed | No |
| Lawn patch greening, realistic sky | Allowed | No |
| Virtual staging | Conditional | Yes — "Virtually Staged" label + vacant original in the set |
| Day-to-dusk conversion | Conditional | Recommended — note it or pair with daytime shots |
| Virtual renovation concepts | Conditional | Yes — "Concept Only" label |
| Removing power lines, poles, transformers | Prohibited | Do not edit |
| Cloning out neighboring structures | Prohibited | Do not edit |
| Hiding cracks, stains, damage | Prohibited | Do not edit |
| Changing siding, brick, or roof color | Prohibited | Do not edit |
| Stretching lot boundaries | Prohibited | Do not edit |
Penalties run from $100–$2,500 per violation depending on the board, plus photo takedowns and possible MLS access suspension. The practical defense is process: tell your editor in writing what is approved, keep the unedited originals behind every staged or twilight frame, and use caption disclaimers as standard practice. Staging disclosure has board-level specifics — see virtual staging and MLS and staging legality.
Professional vs. DIY Photo Editing
Do the math with your own hourly value, not the software subscription.
| Factor | DIY | Professional service |
|---|---|---|
| Software cost | $10–$55/month (Lightroom, Photoshop) | Bundled in the fee |
| Time per listing | 2–6 hours at the desk | Zero — delegated |
| Learning curve | Weeks to usable, months to fast | Already trained |
| Consistency | Drifts with fatigue and deadlines | Standardized across the batch |
| Hard edits | HDR pulls, sky, heavy clutter stay rough for a long time | Core competency |
At a conservative $50–$100/hour for an active agent's time, four hours of self-editing costs $200–$400 in foregone showings, lead gen, and client work. The same listing professionally edited runs $40–$80. DIY wins in exactly one case: very low volume with simple shots and a photographer who enjoys the desk work.
The AI middle path deserves a clear-eyed look. AI batch tools handle basic exposure fast and cheap; they still fumble hard blends, invent window views, and oversaturate with confidence. See AI editing vs. professional services, where AI falls short, and the myths roundup before routing client listings through an unsupervised pipeline. A blended workflow — AI or in-house for basics, a pro team for advanced frames and staging — is where most high-volume studios land.
How to Choose a Real Estate Photo Editing Service
Evaluate in this order. It mirrors our full selection framework; what follows is the compressed version you can run in a week.
1. Define your needs first
Volume per month, typical property mix, turnaround you actually need, which tiers dominate (basic-heavy agent batches vs. staging-heavy luxury). A brokerage shooting 200 frames a month needs a different provider than a solo agent listing three homes a year. Write the one-paragraph brief before contacting anyone.
2. Run a sample test on your own images
Send 3–5 of your hardest frames, not your easiest: a backlit living room needing a window pull, a tight bathroom needing verticals, a gray-sky exterior. Reputable providers edit samples free — start a trial here. Judge window borders, light-fixture color casts, straight verticals, and sensor dust. That four-point QC check catches 90% of quality differences.
3. Check red flags
No sample edits. No written turnaround SLA. Pricing far below market with no explanation of what is excluded. No compliance policy — if a provider will erase power lines when asked, they will embarrass you eventually. Vague revision terms. Client trust is built on exactly these boring operational details, and the common editing mistakes list shows what slips through when QA is thin.
4. Evaluate the contract, not just the price
Volume discount tiers, rush terms, revision rounds, file handling and delivery format, who owns rework when a seller complains. Negotiate on volume, never on quality — a 60% discount that ships gray windows costs you listings.
Demand manual review in the agreement. Automated pipelines are fine for first-pass corrections; final eyes should be human. That is the service standard to hold any provider to, including us.
Frequently Asked Questions
How much does real estate photo editing cost?
$0.50–$2.00 per image for basic corrections, $2.00–$5.00 for standard editing with window pulls, $5.00–$15.00 for advanced retouching and twilight conversion, $25–$50 per virtually staged image. Per-listing packages and monthly retainers cut per-image cost at volume. Full numbers in the 2026 pricing guide.
Is professional real estate photo editing worth it?
For listed properties, the published performance gap — 118% more views (Redfin), ~32% faster sales (PR Newswire–covered study), $3,400–$11,200 premiums (WSJ) — dwarfs the $40–$150 per-listing cost. Verify current editions of each stat before quoting to sellers.
How long does photo editing take?
Standard turnaround is 24–48 hours. Rush or same-day delivery typically adds 25–50%. Confirm the SLA in writing, including what counts as a revision round.
Can you remove power lines from MLS photos?
No. Power lines, poles, transformers, neighboring structures, and structural defects are permanent features — removing them violates MLS rules on nearly every board. Fix temporary items (clutter, cords, cars, leaves) freely; see the compliance table above and the staging disclosure rules.
What is included in a free photo editing trial?
You send your own listing images; the studio edits a sample set through its standard workflow — same QA, same turnaround — so you can judge quality on your hardest frames before committing. Start a trial with 3–5 difficult shots, not easy ones.
Virtual staging vs. physical staging — which should I choose for a listing?
Virtual wins on cost ($25–$50/image vs. thousands furnished) and turnaround (24–48h vs. weeks), and works best for vacant rooms where scale is the question. Physical wins for luxury showings where touch matters. Either way, virtually staged MLS photos need a "Virtually Staged" label plus the vacant original — see staging vs. home staging.
What to Do Next
- Match the tier to the listing: basics on everything, advanced work on hero frames, staging where vacancy hurts.
- Lock compliance into your briefing template — temporary fixes yes, permanent alterations never, disclosures on staging and twilight.
- Run the 4-step provider check: brief, sample test, red-flag screen, contract terms.
- Prove it on your own images: start a free photo editing trial and put your hardest frames through the standard 24-hour workflow before committing volume.